
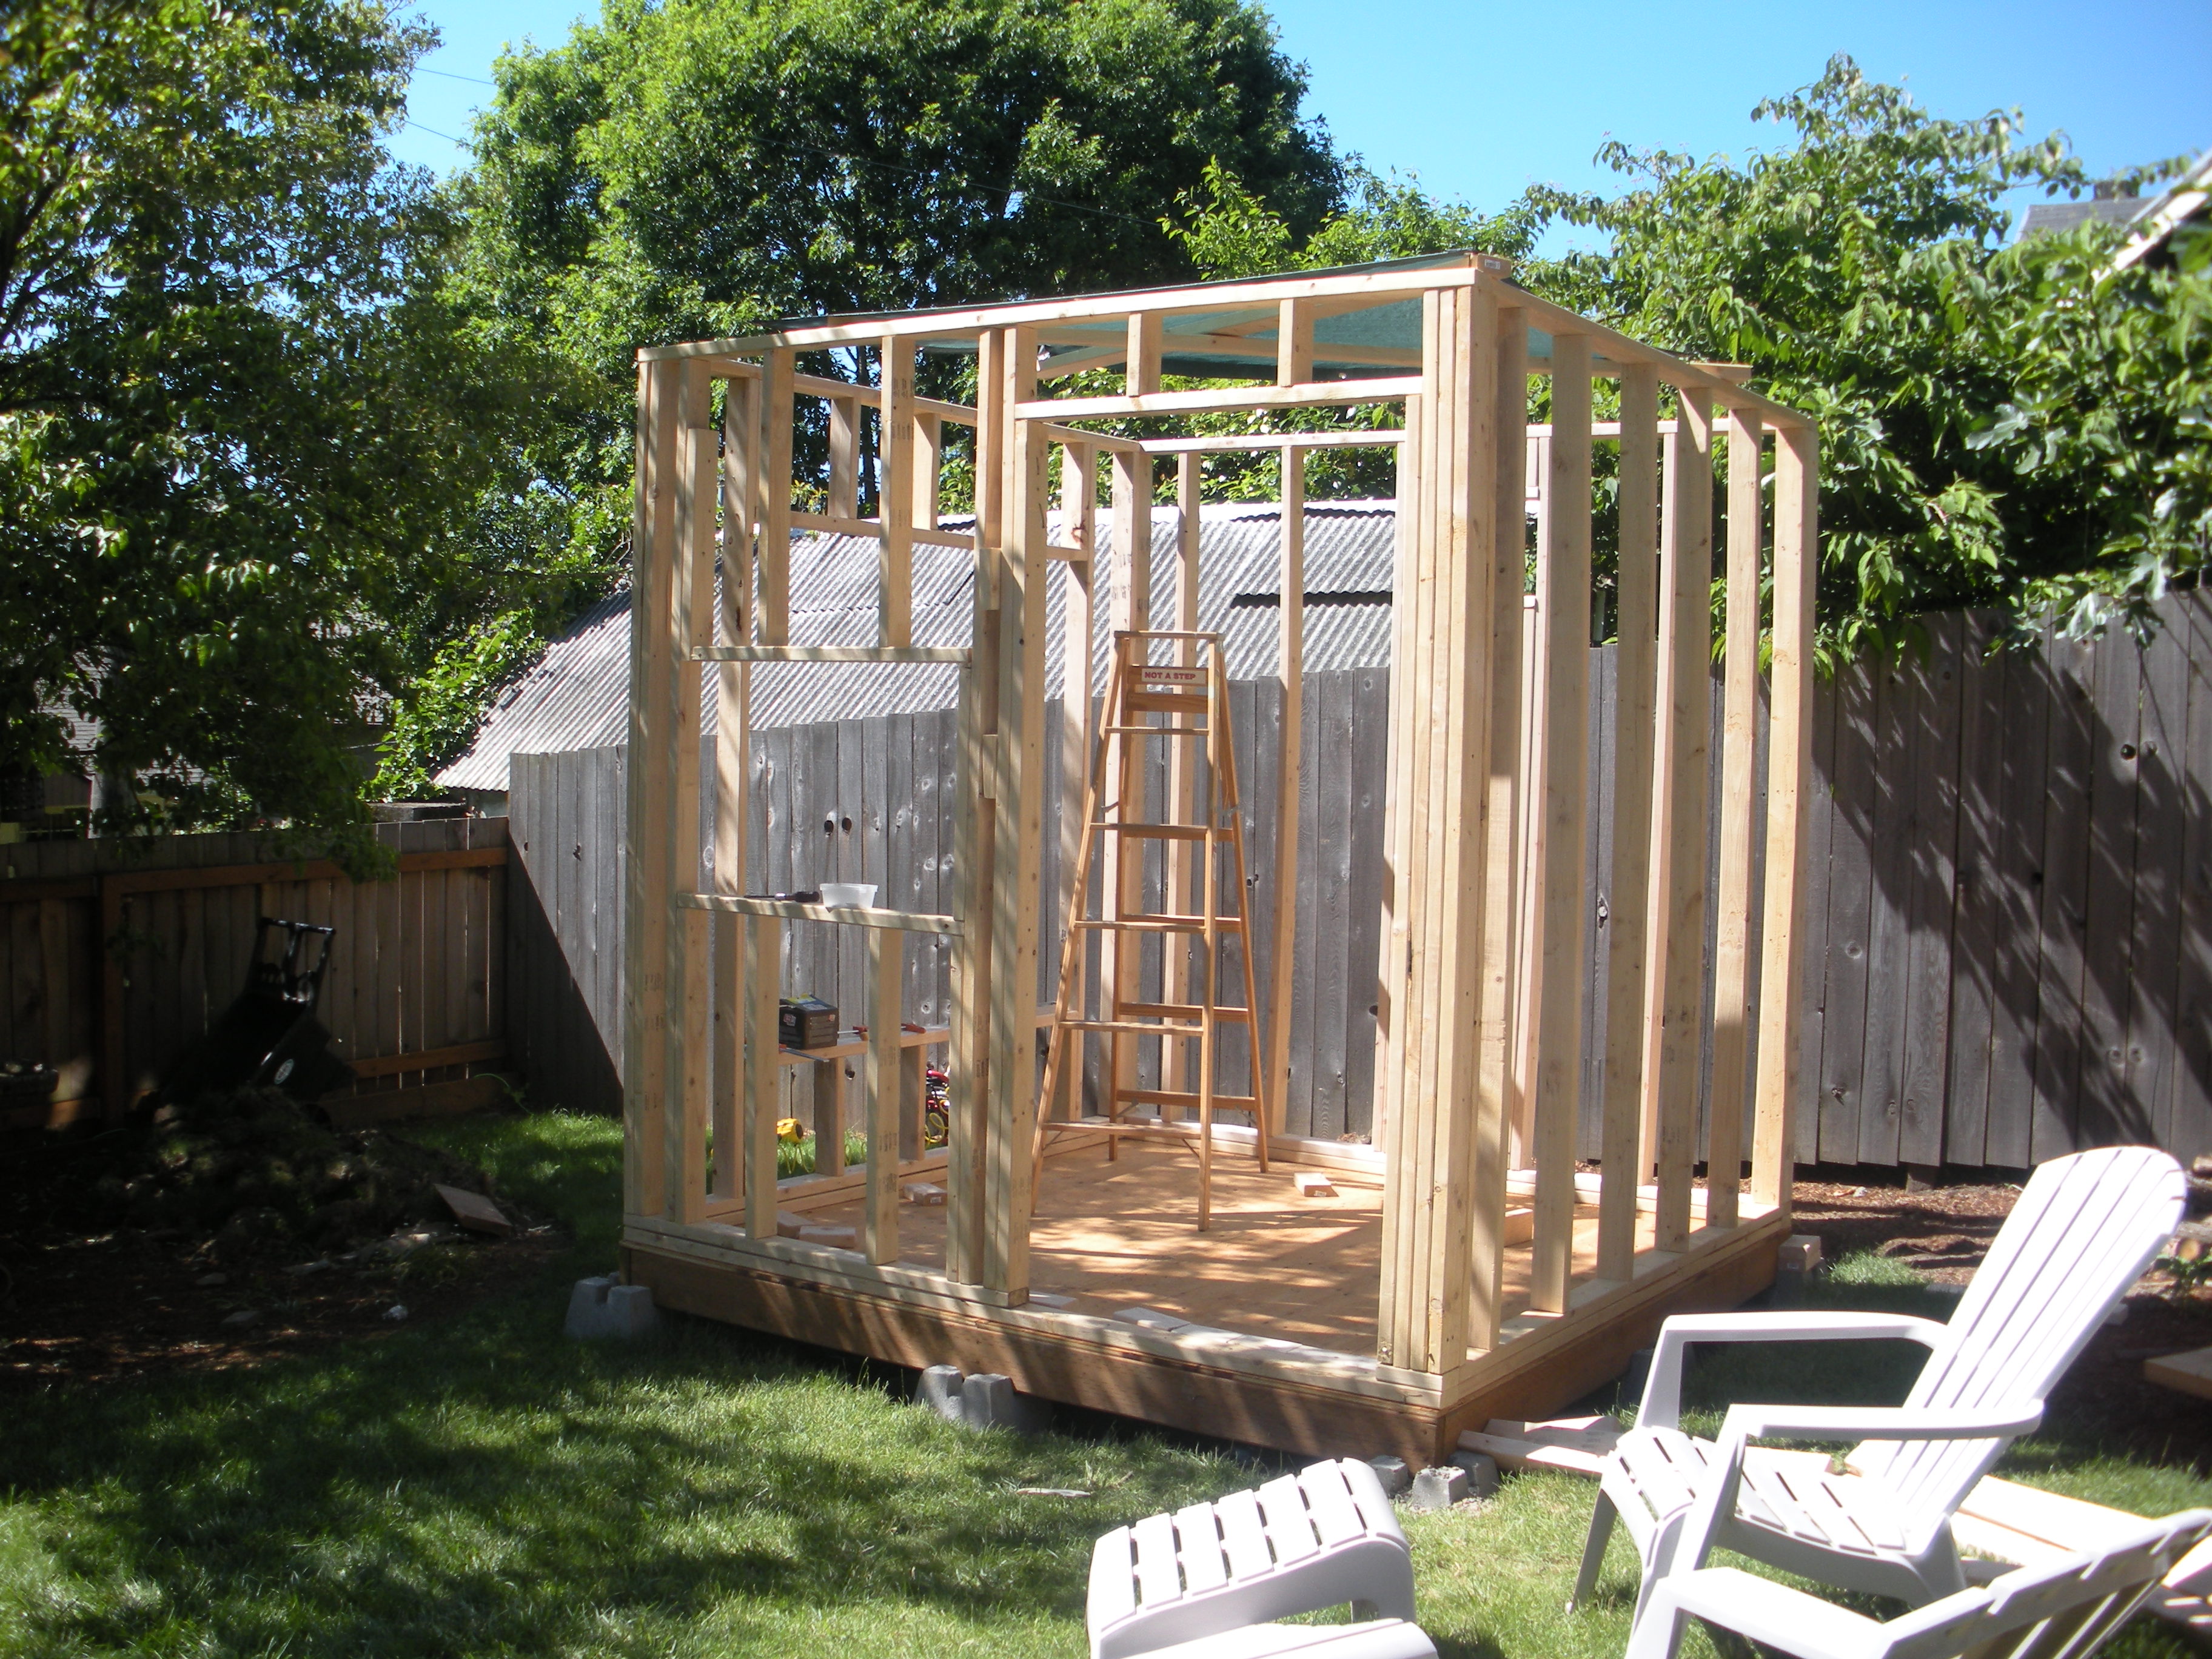
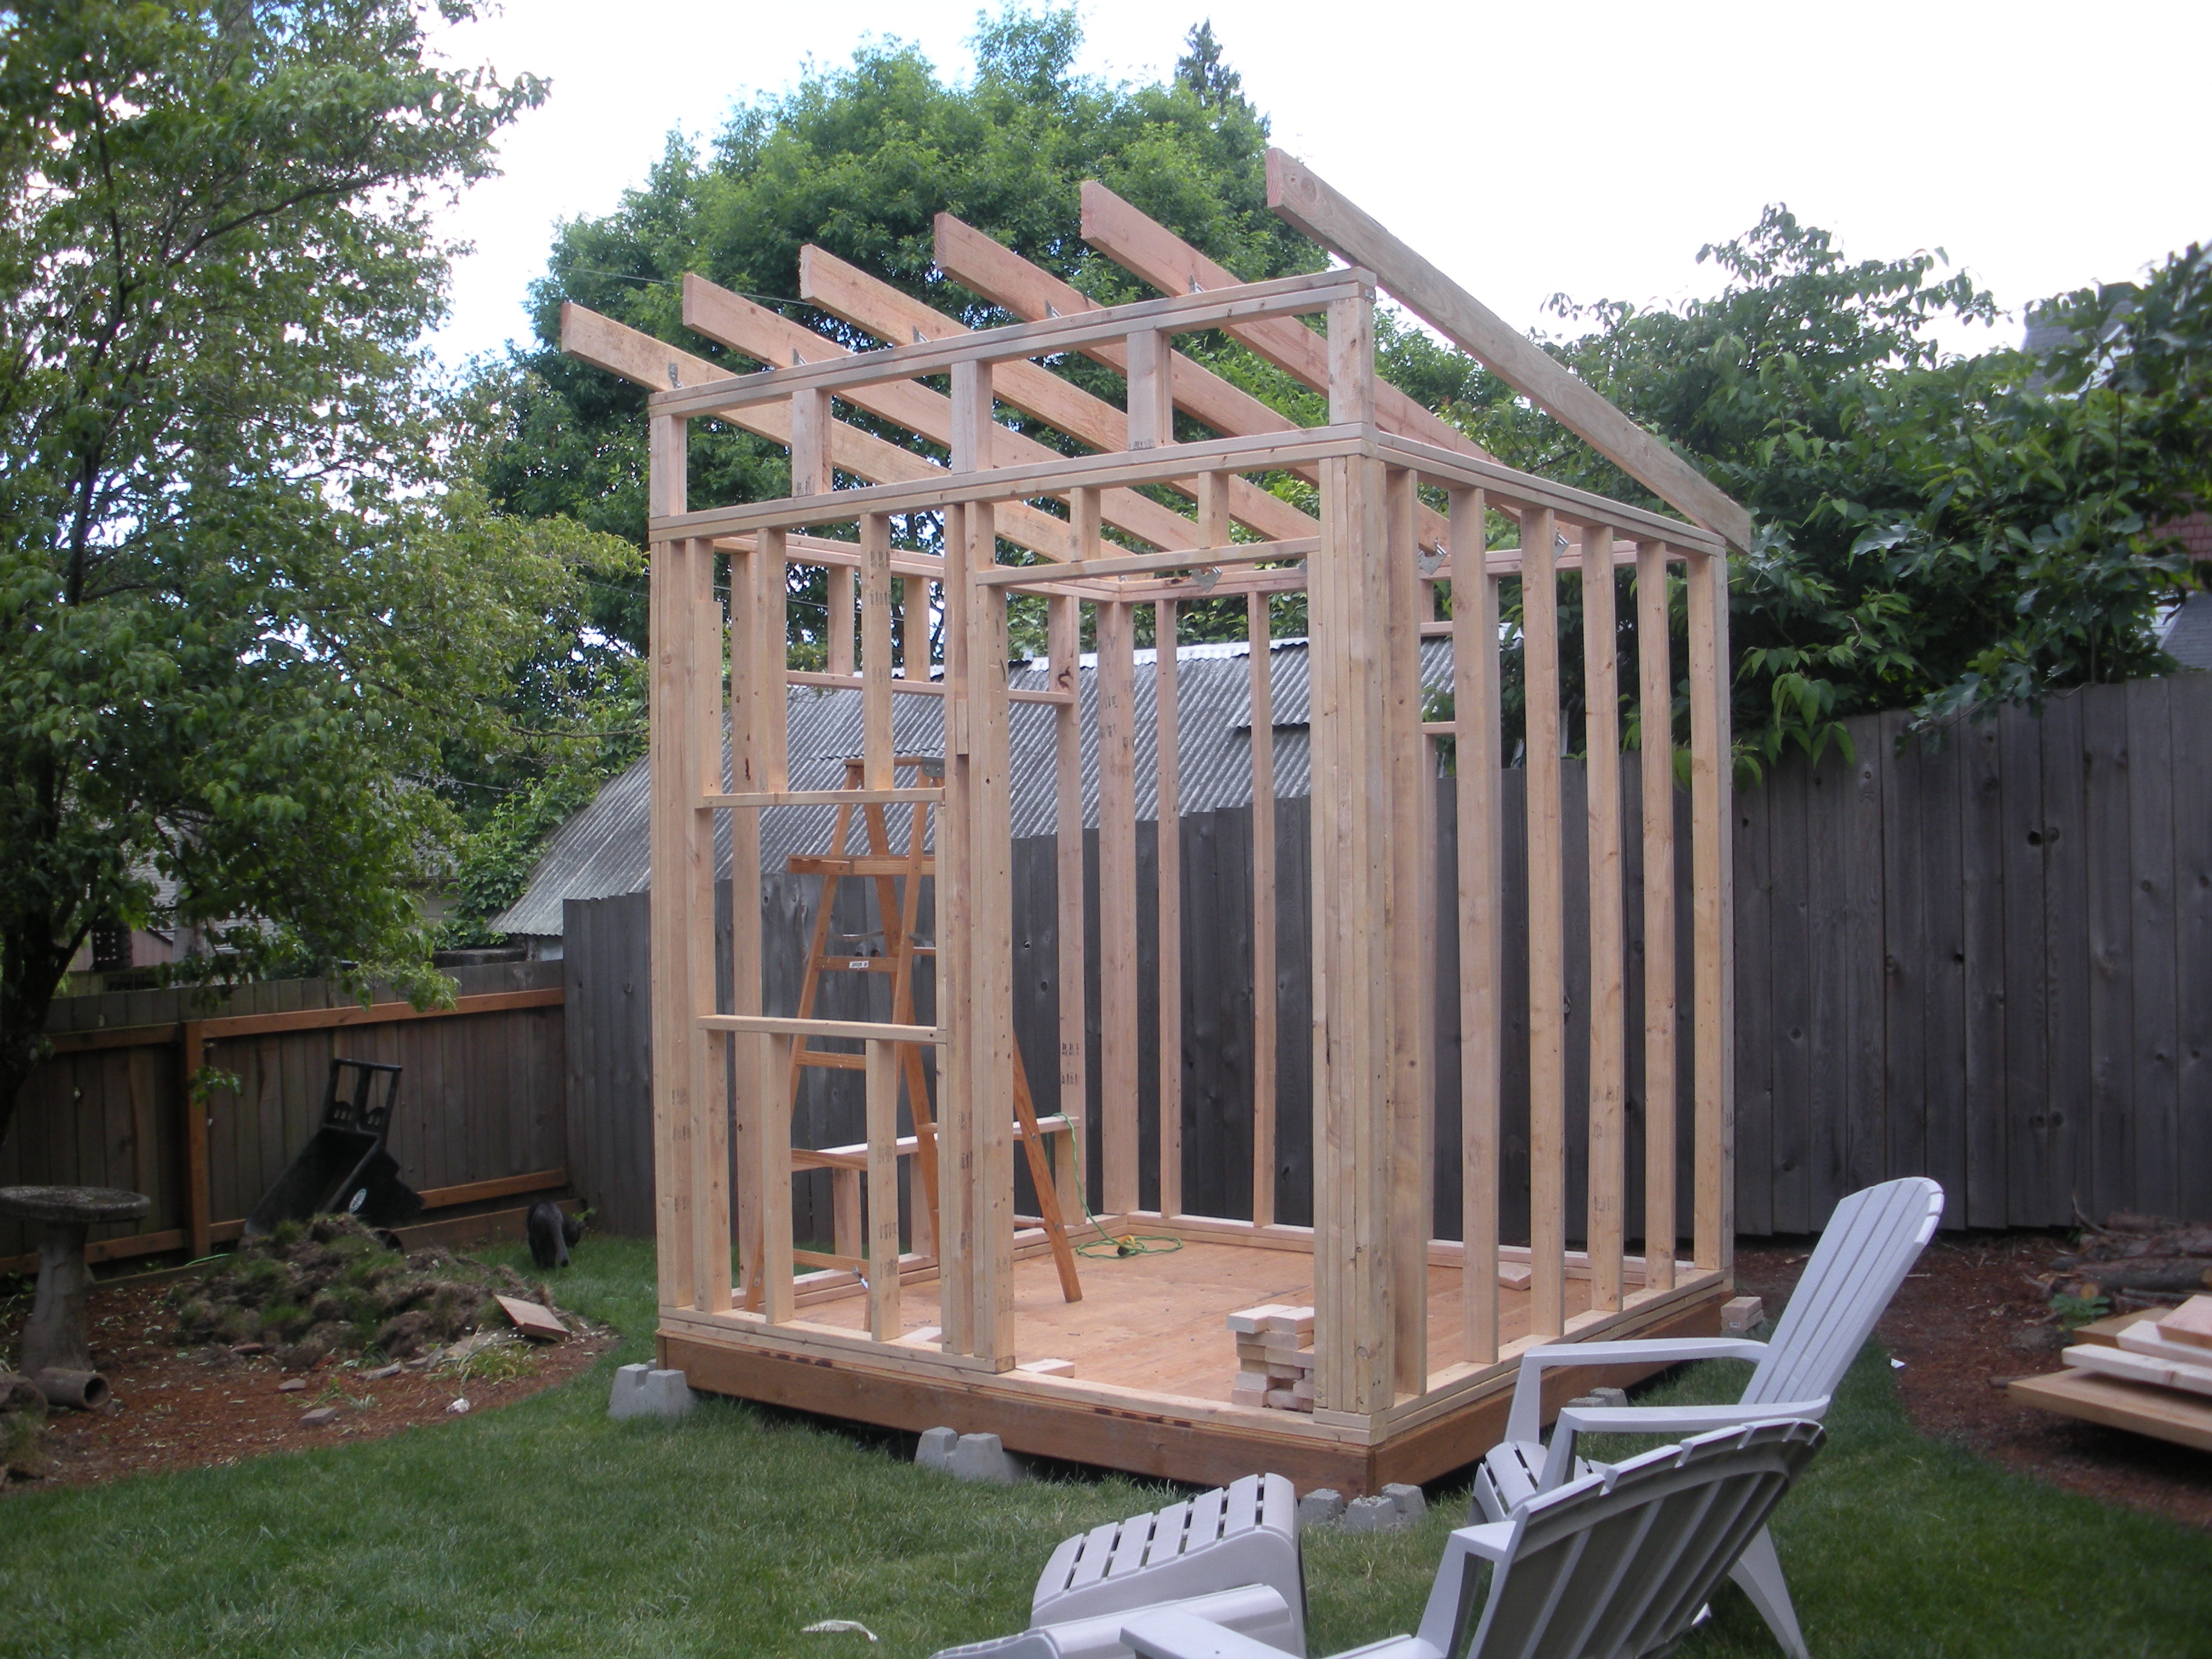
This past weekend was a big one for the shed office construction. Once again with the help of my little brother, Warren, we put up the remaining two walls and the roof trusses.
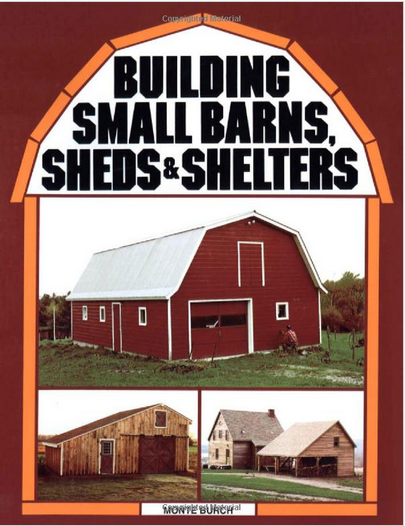
Keep in mind that I’ve never framed anything in my life. This is the first time I’ve ever taken on something like this. This entire project is the culmination of 2 months of research online, some helpful advice from several Architect friends and a very helpful book that my dad gave me:

Yessir. 1982 would have been the year this was published.
Little did I realize, but this book came to me many years ago when my mother was downsizing for moving into smaller quarters. My father had at one time been a traveling salesman – selling veterinarian supplies to ranchers and farmers. This book was one of several in his small collection of books that he would try to sell his customers. 30 years later, surprisingly, much of the advice and information contained within is still relevant. Little has changed with small scale shed building in that time – nail guns, hurricane ties and OSB are some of my favorite time and money savers.
So back to the progress report…
I spent a few days last week out on the platform of the shed with a folding table and chair setup and my work laptop out to see what it was like to work in this new location. I discovered a lot of things as a result. The Feng Shui of the spot is solid. There was no negative energy to be had. There was, however, one problem. In front of me was an amazing picture – that of my dogwood tree, birdbath and flowers. I realized that I would be a fool to put up a wall between me and this beautiful vista. I made the decision to add a giant window on the yet-to-be-built west wall.
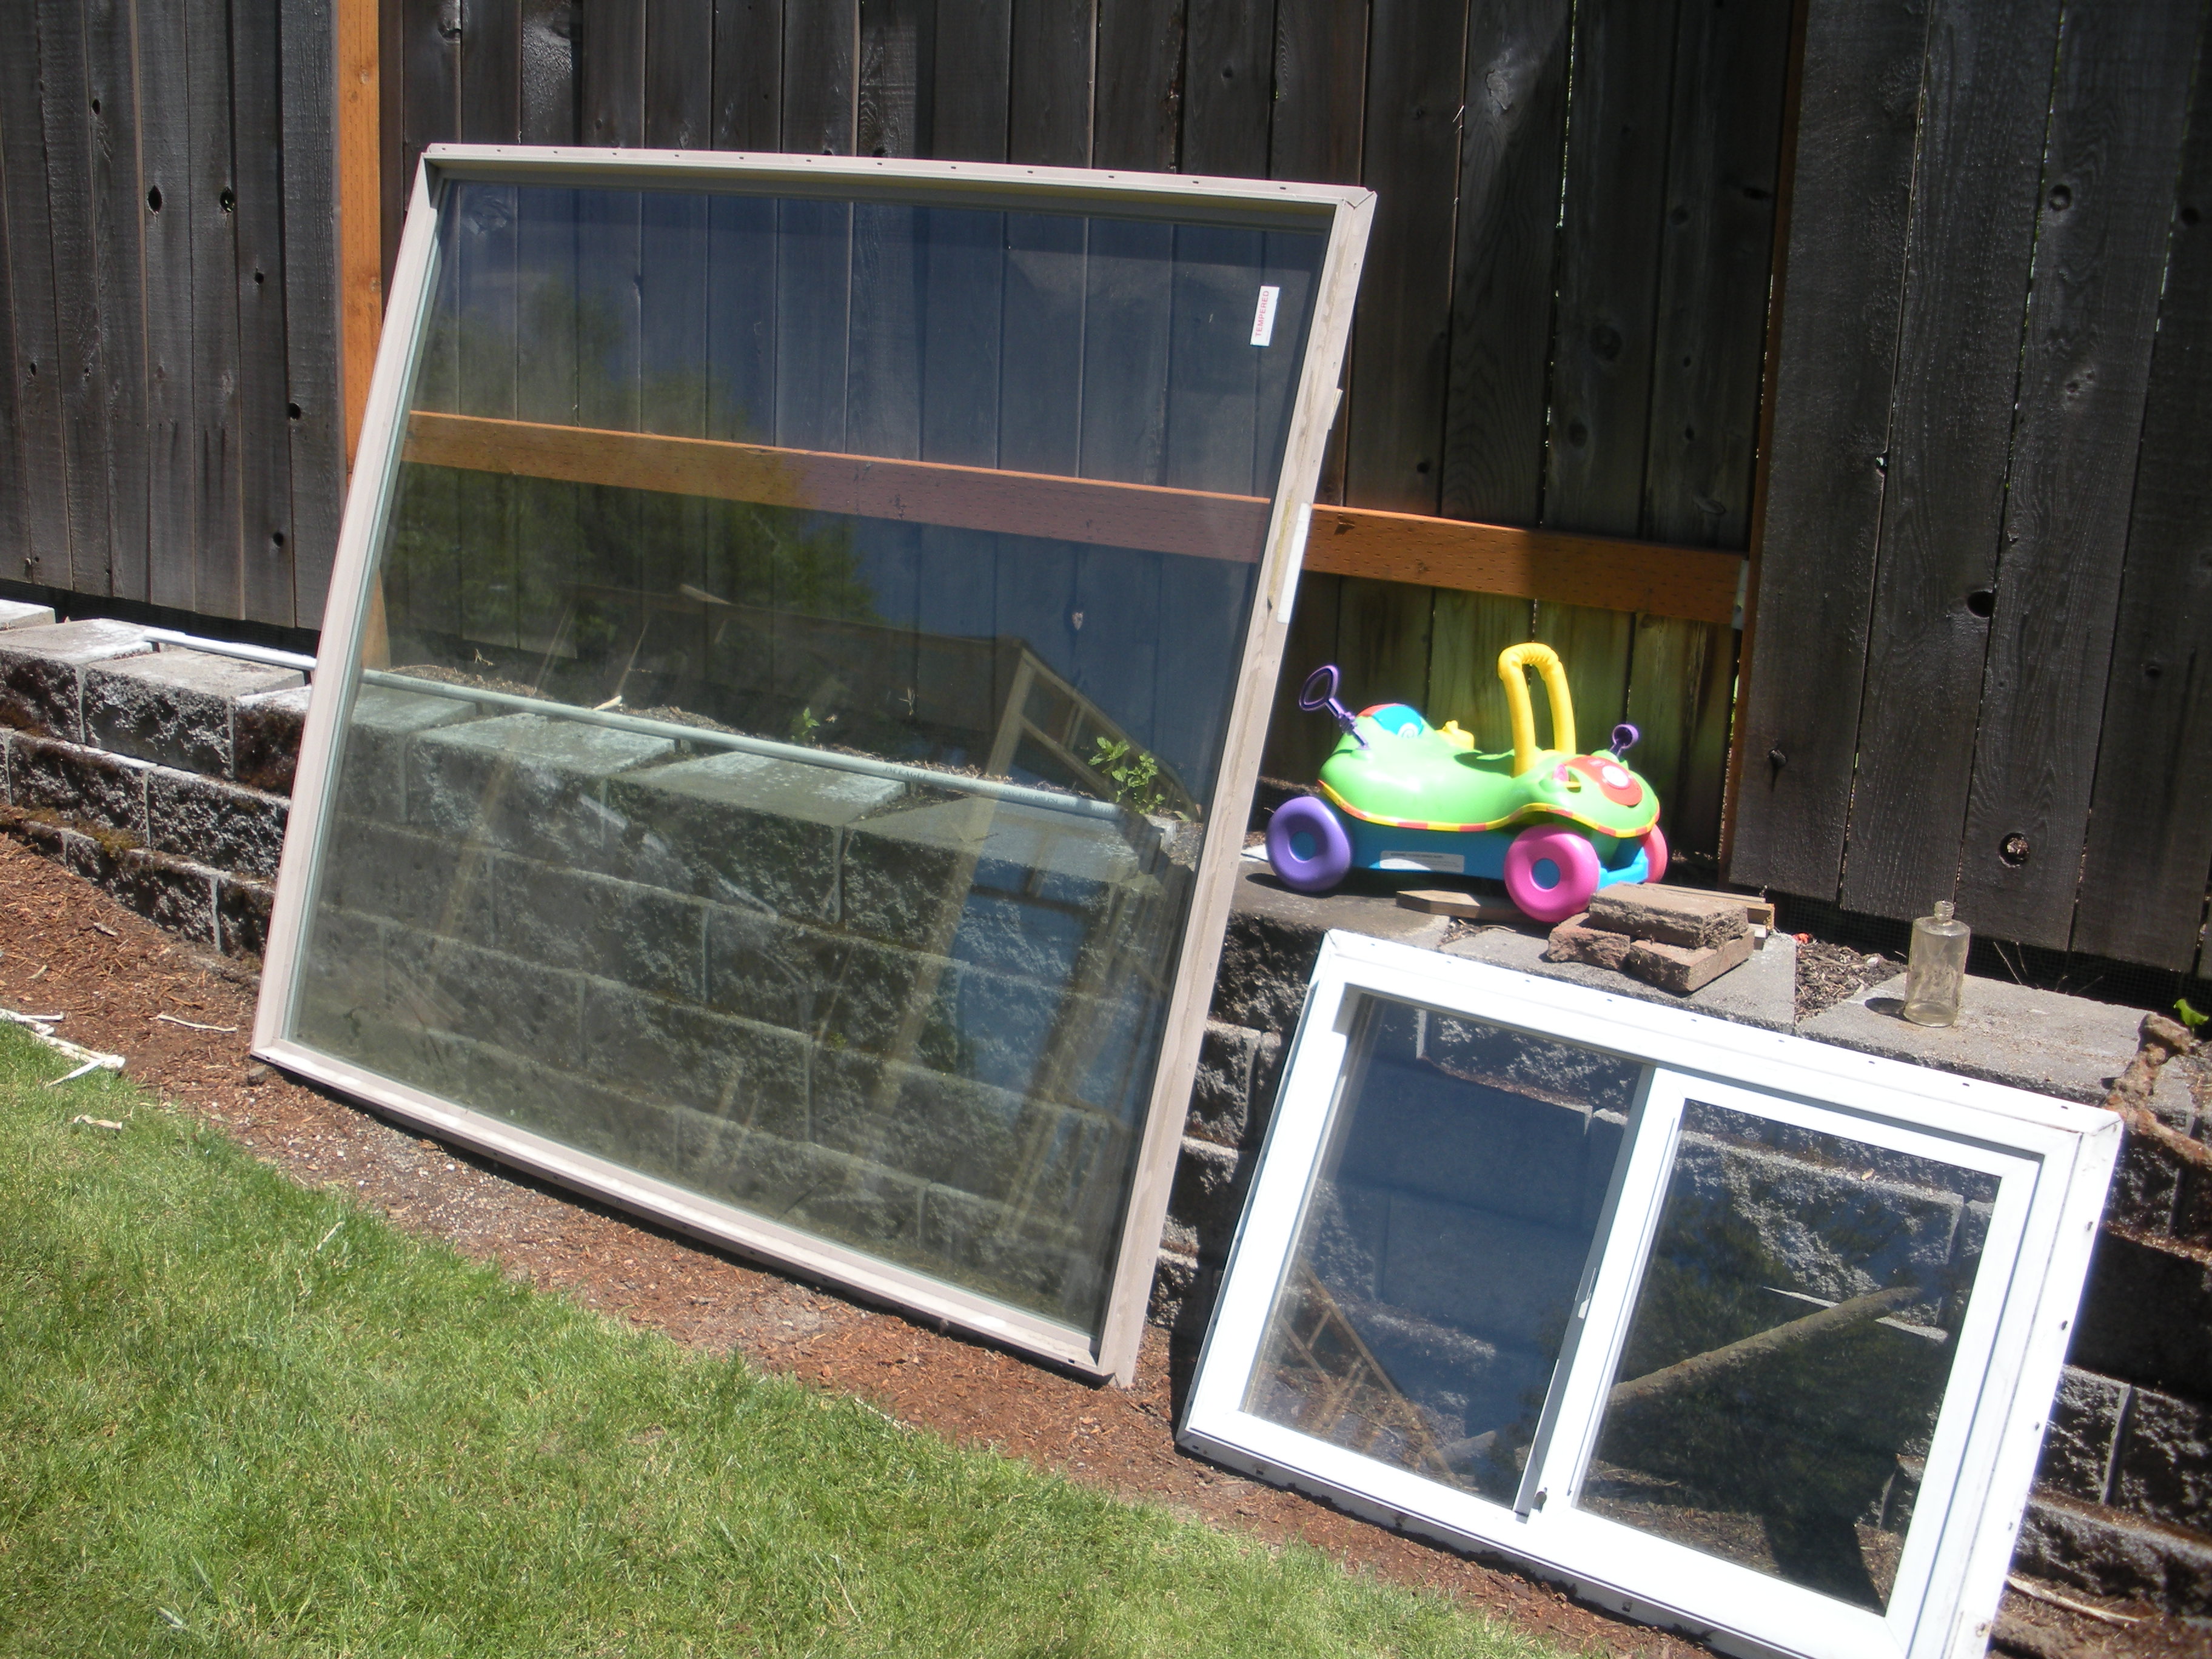
I struggled with how I was going to do this window for awhile. Perhaps i would just use some plexiglass to keep costs down – or better yet, find a suitable real window for uber cheap.
Early in the morning, my awesome father-in-law came over in his box truck and picked me up. Our destination? The Rebuilding Center. This place is a treasure trove of recycled building materials. You name it – if you can still use it, they probably have it. It just so happened that I had visited on my lunch break earlier in the week and found the window I needed. Just about 5’x5′ – a custom window that had some bizarre dimensions (clearly it was custom for someone). It had never been installed and had been sitting around since it’s manufacture in 2008. The glass was double pane tempered and an almond colored frame held it all together.
The best part about this was the price. Normally a window like this, custom ordered from the factory would run you $1500-$2000 easily. That’s more than my entire budget for this project. Much to my surprise and joy – they charged me $65 for it! I damn near did the happy dance right there in the isles at the rebuilding center.
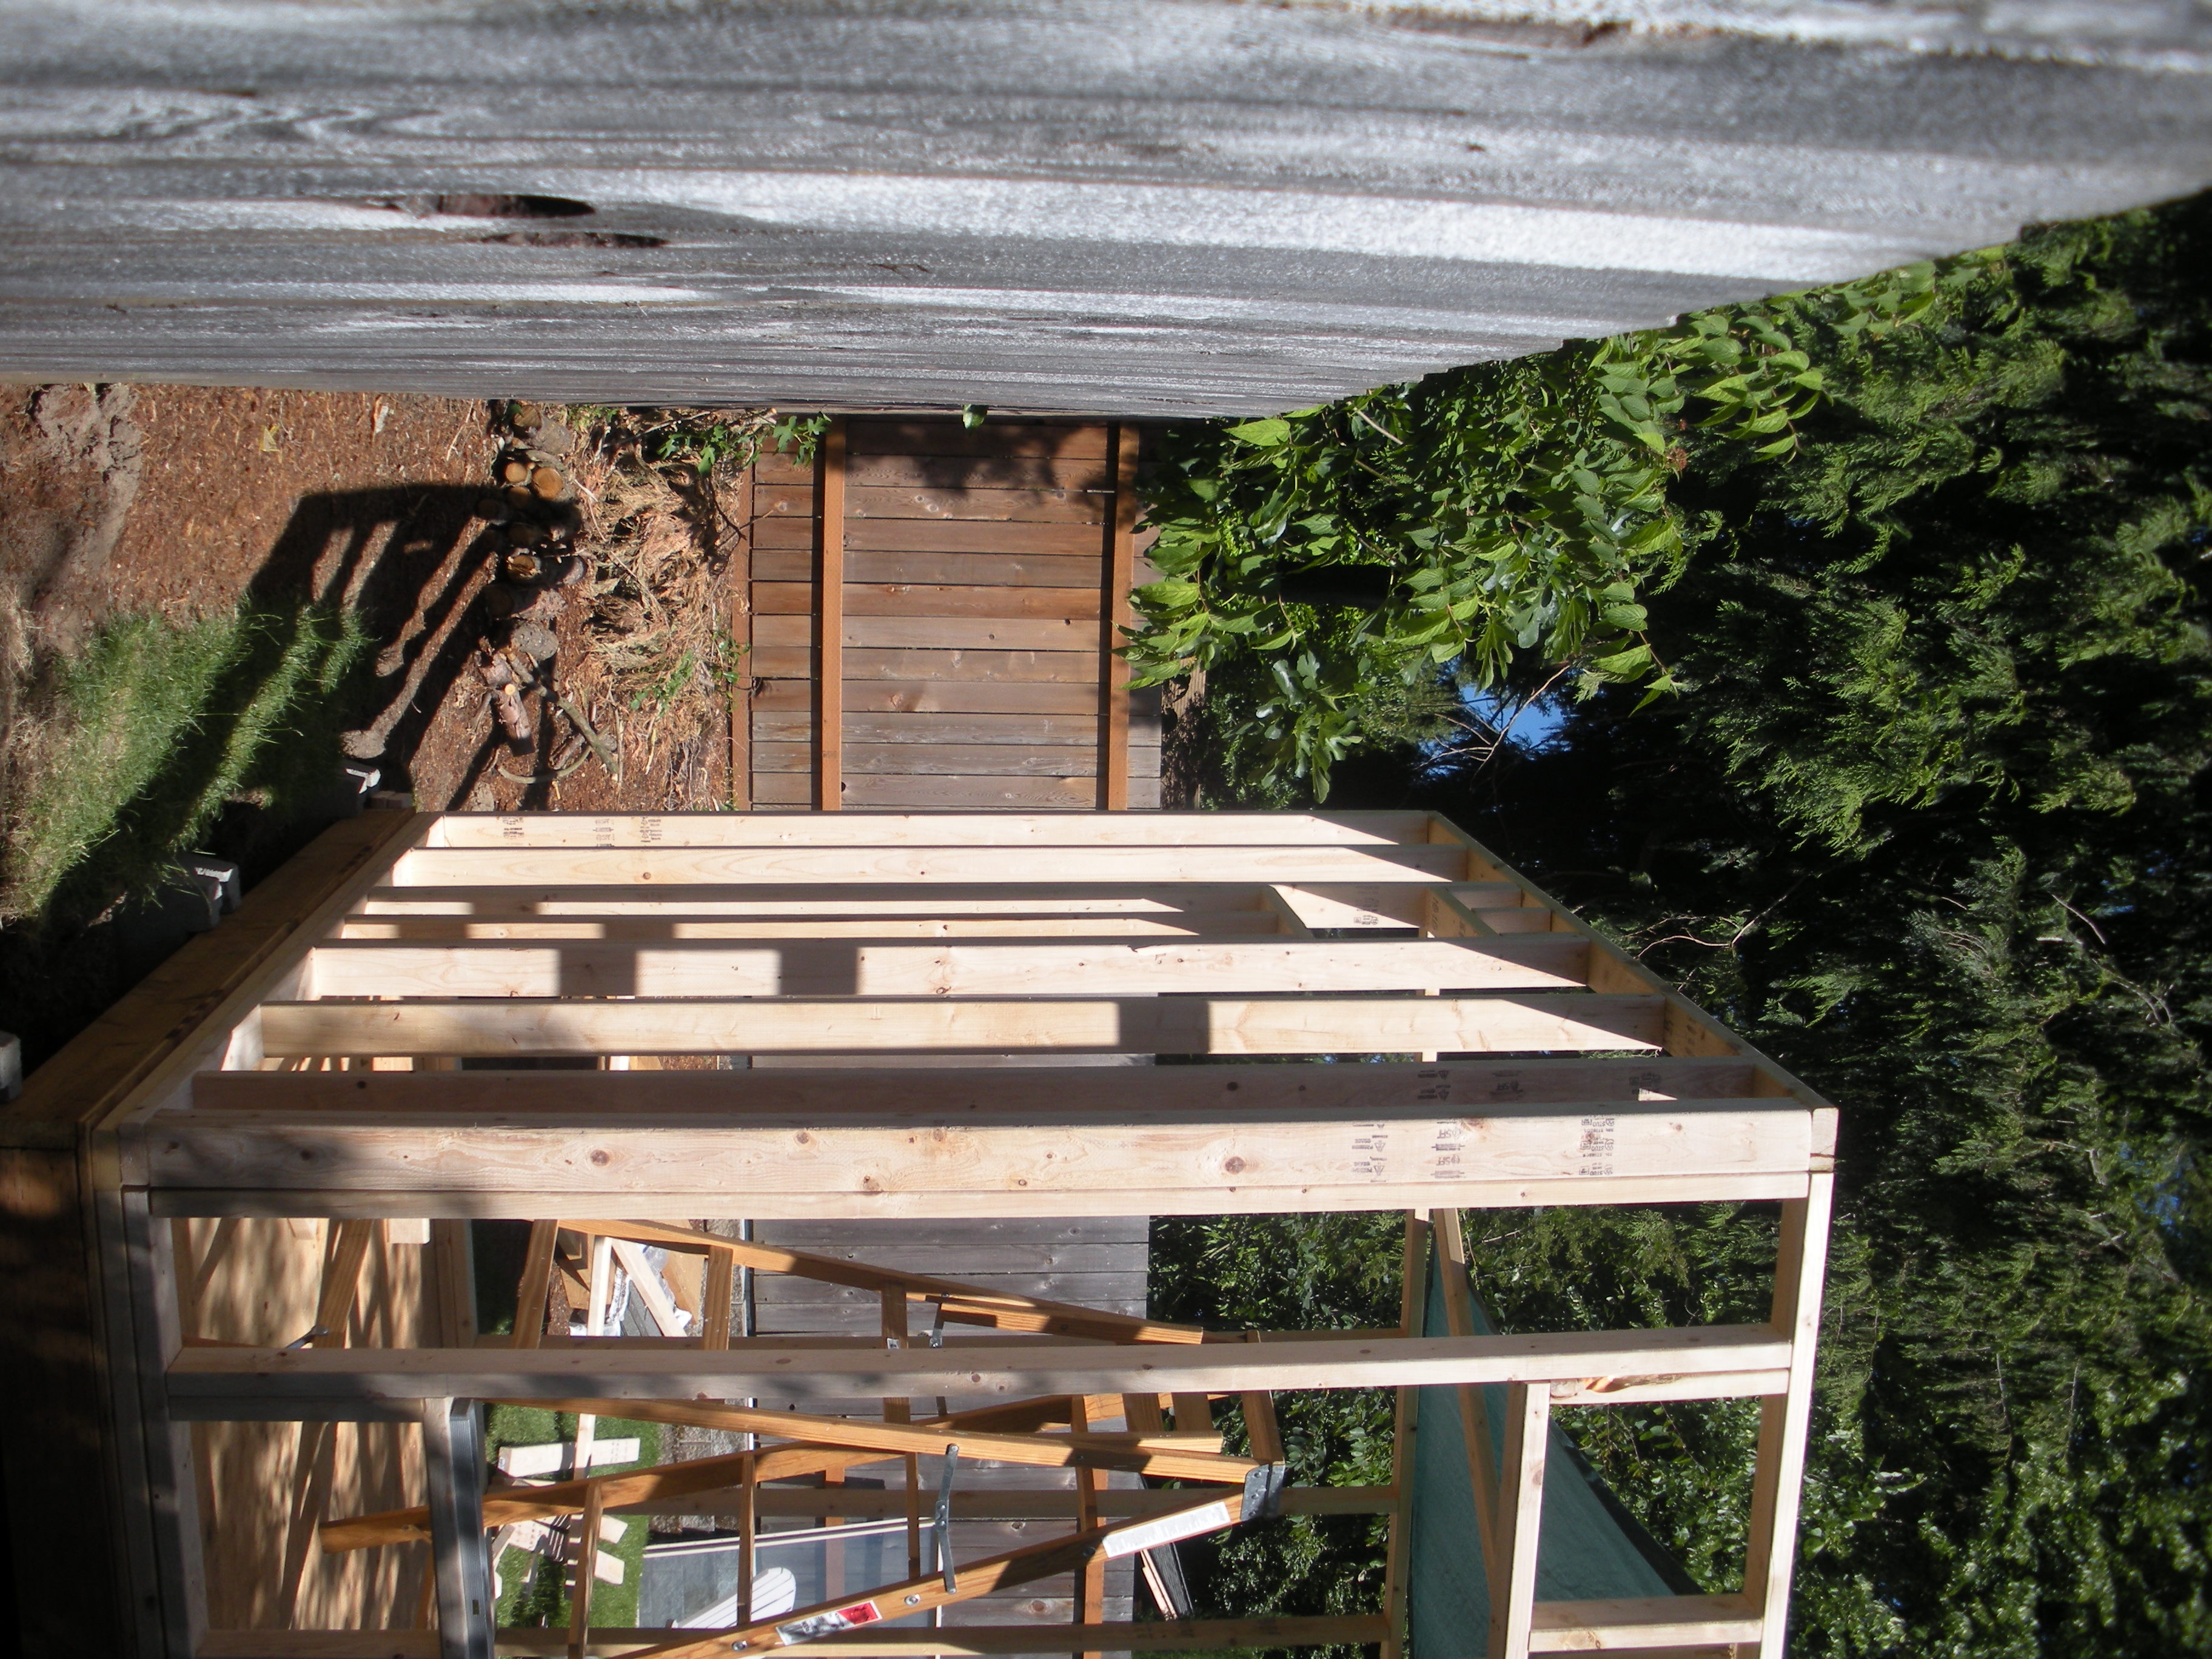
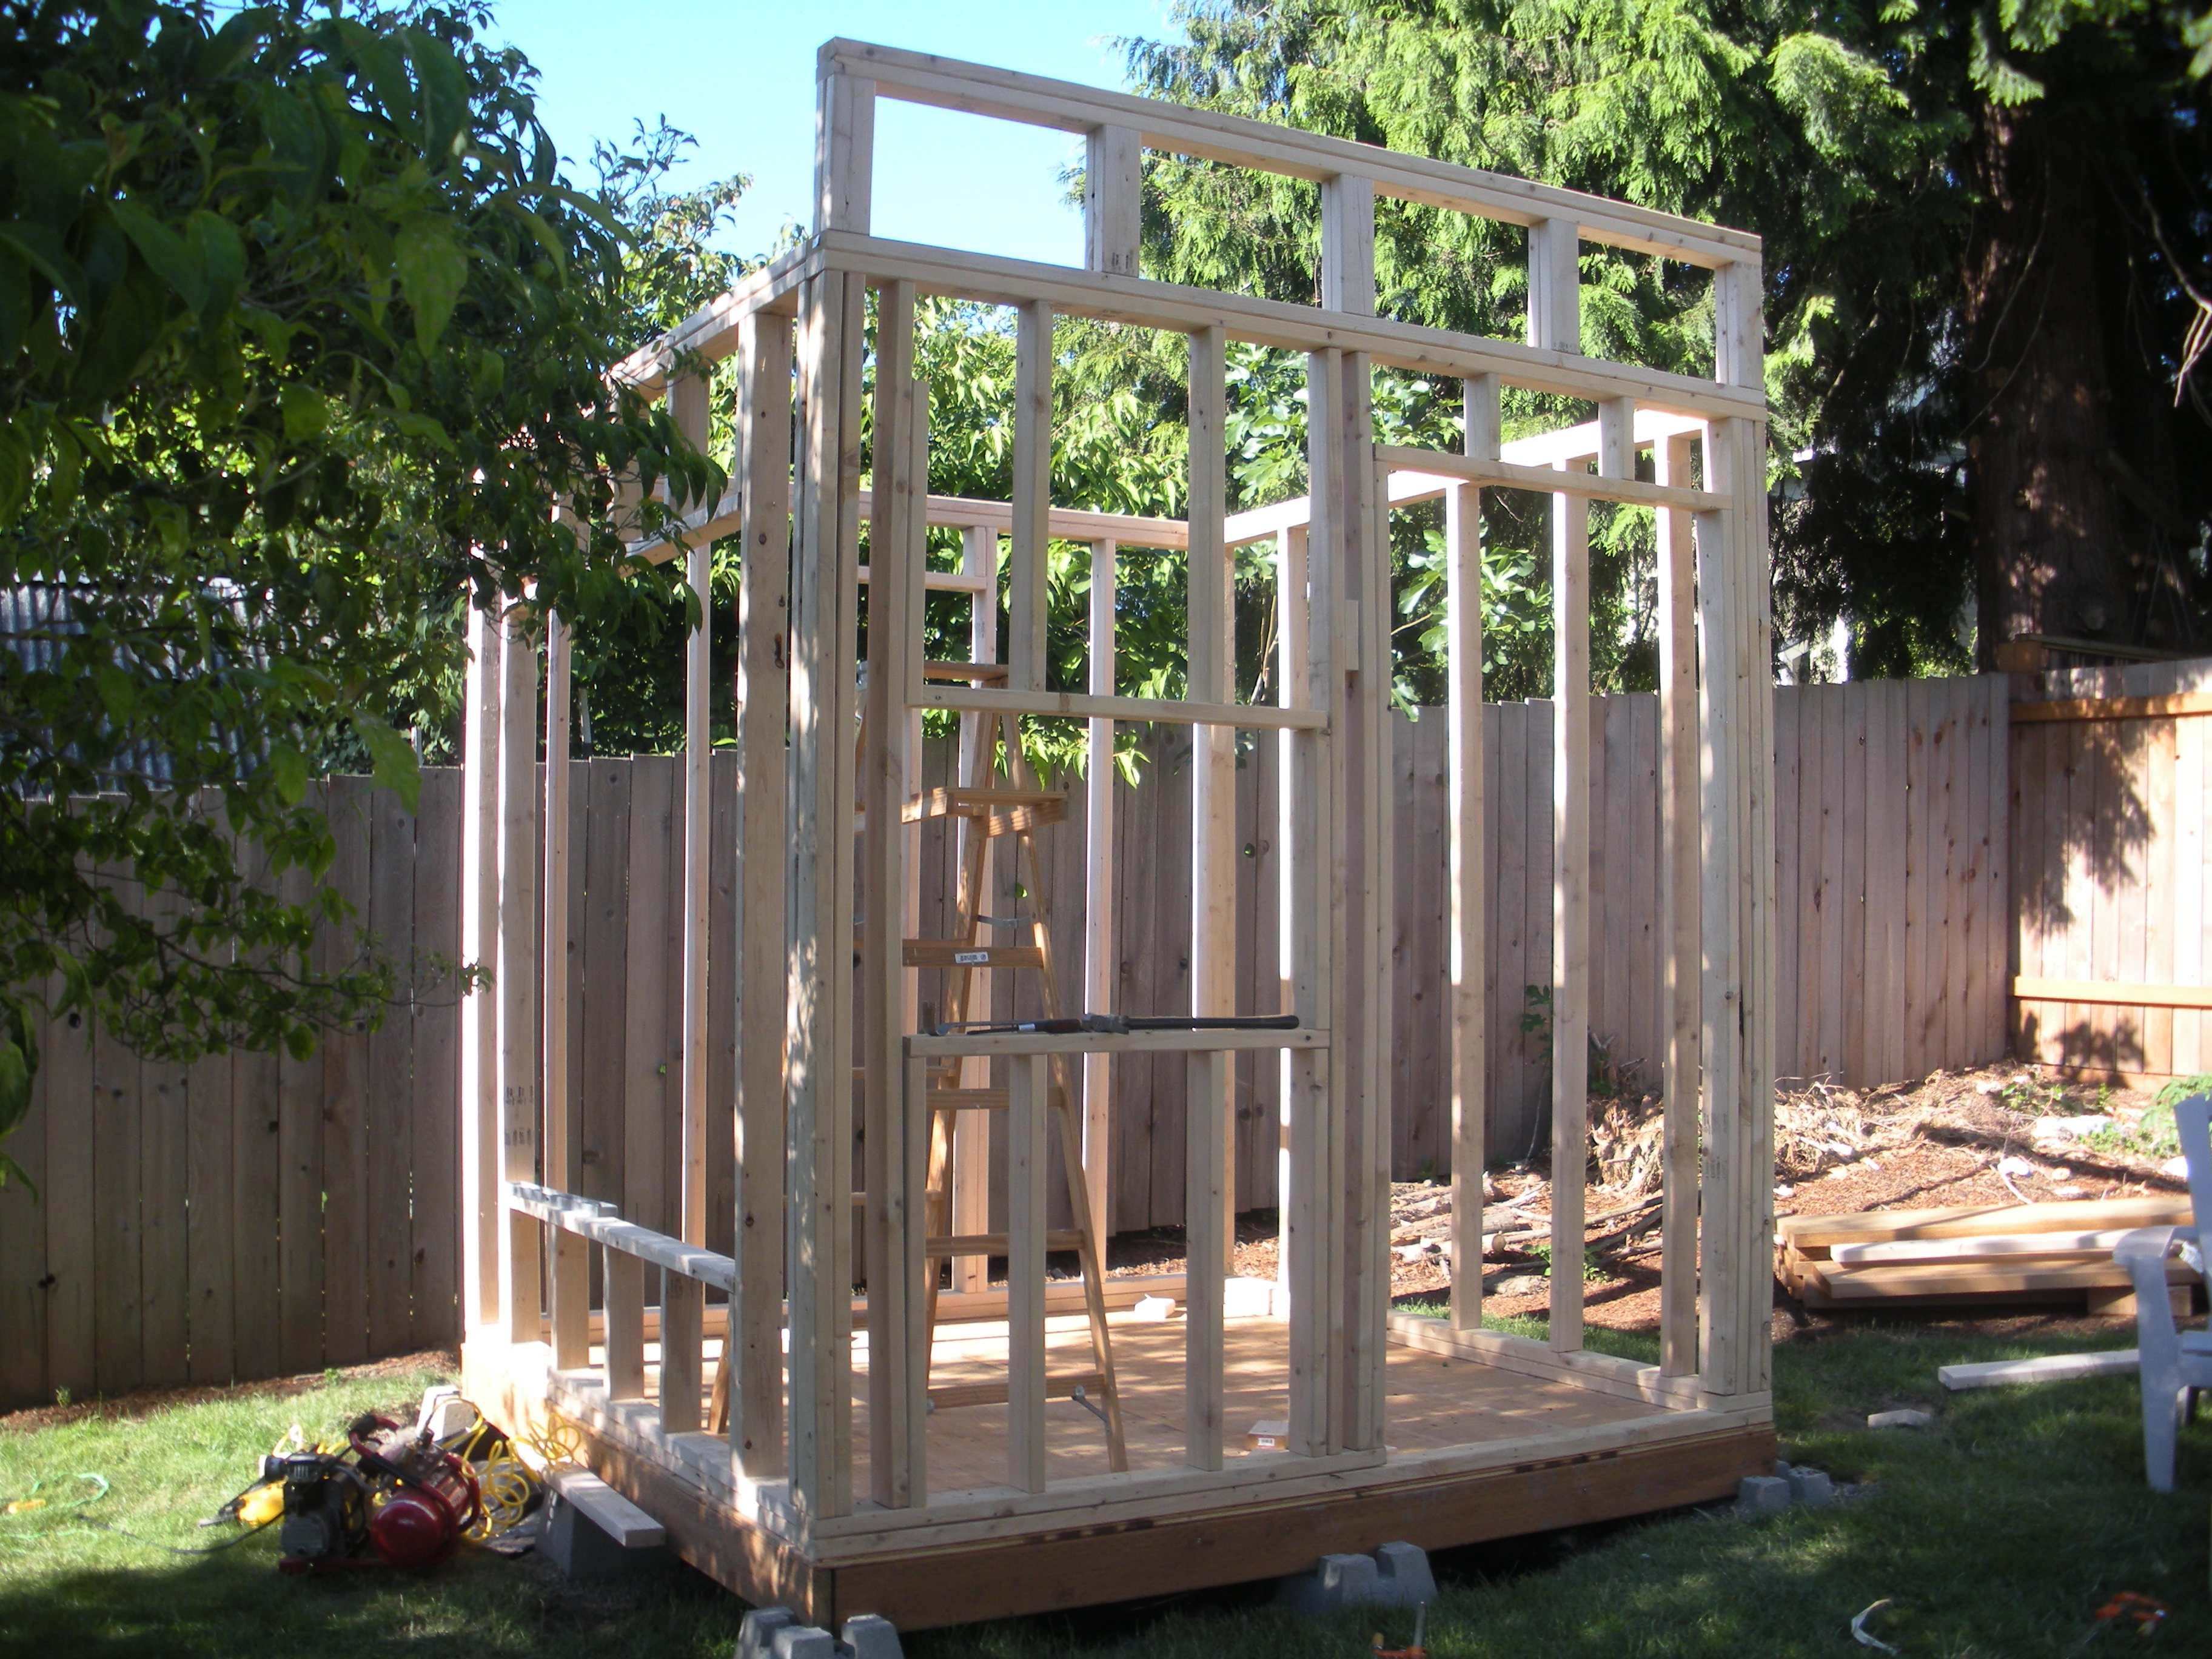
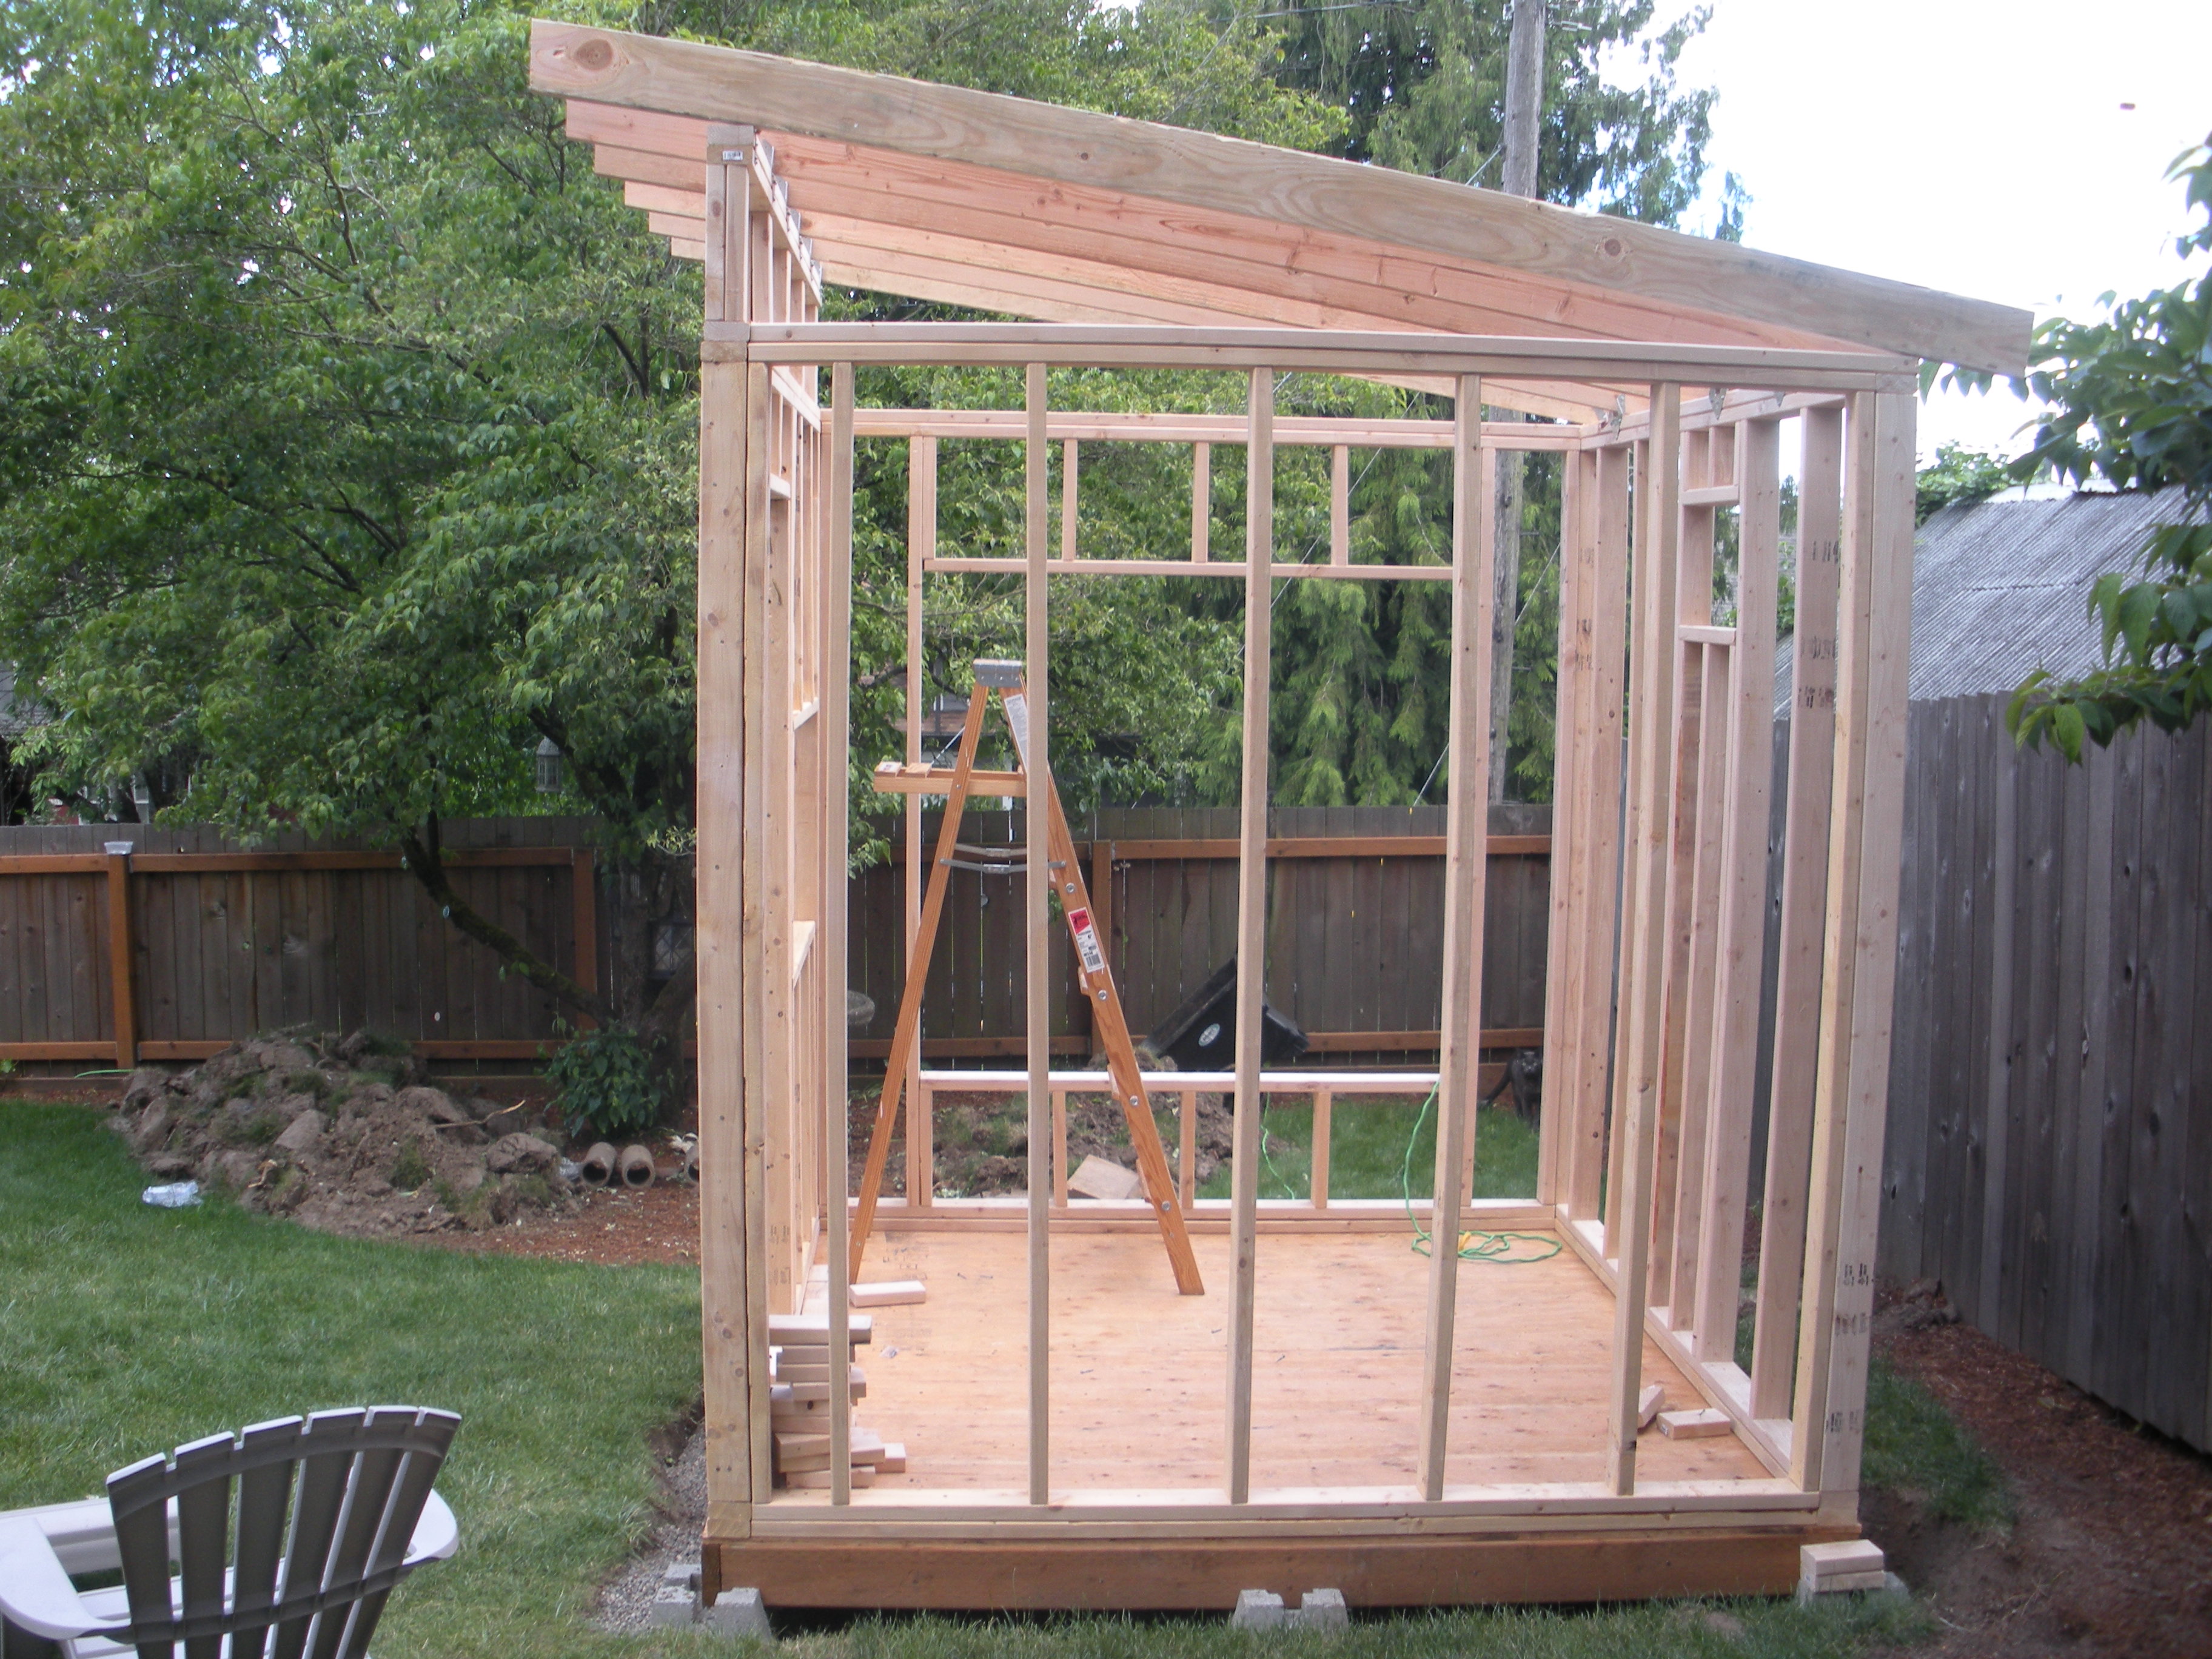
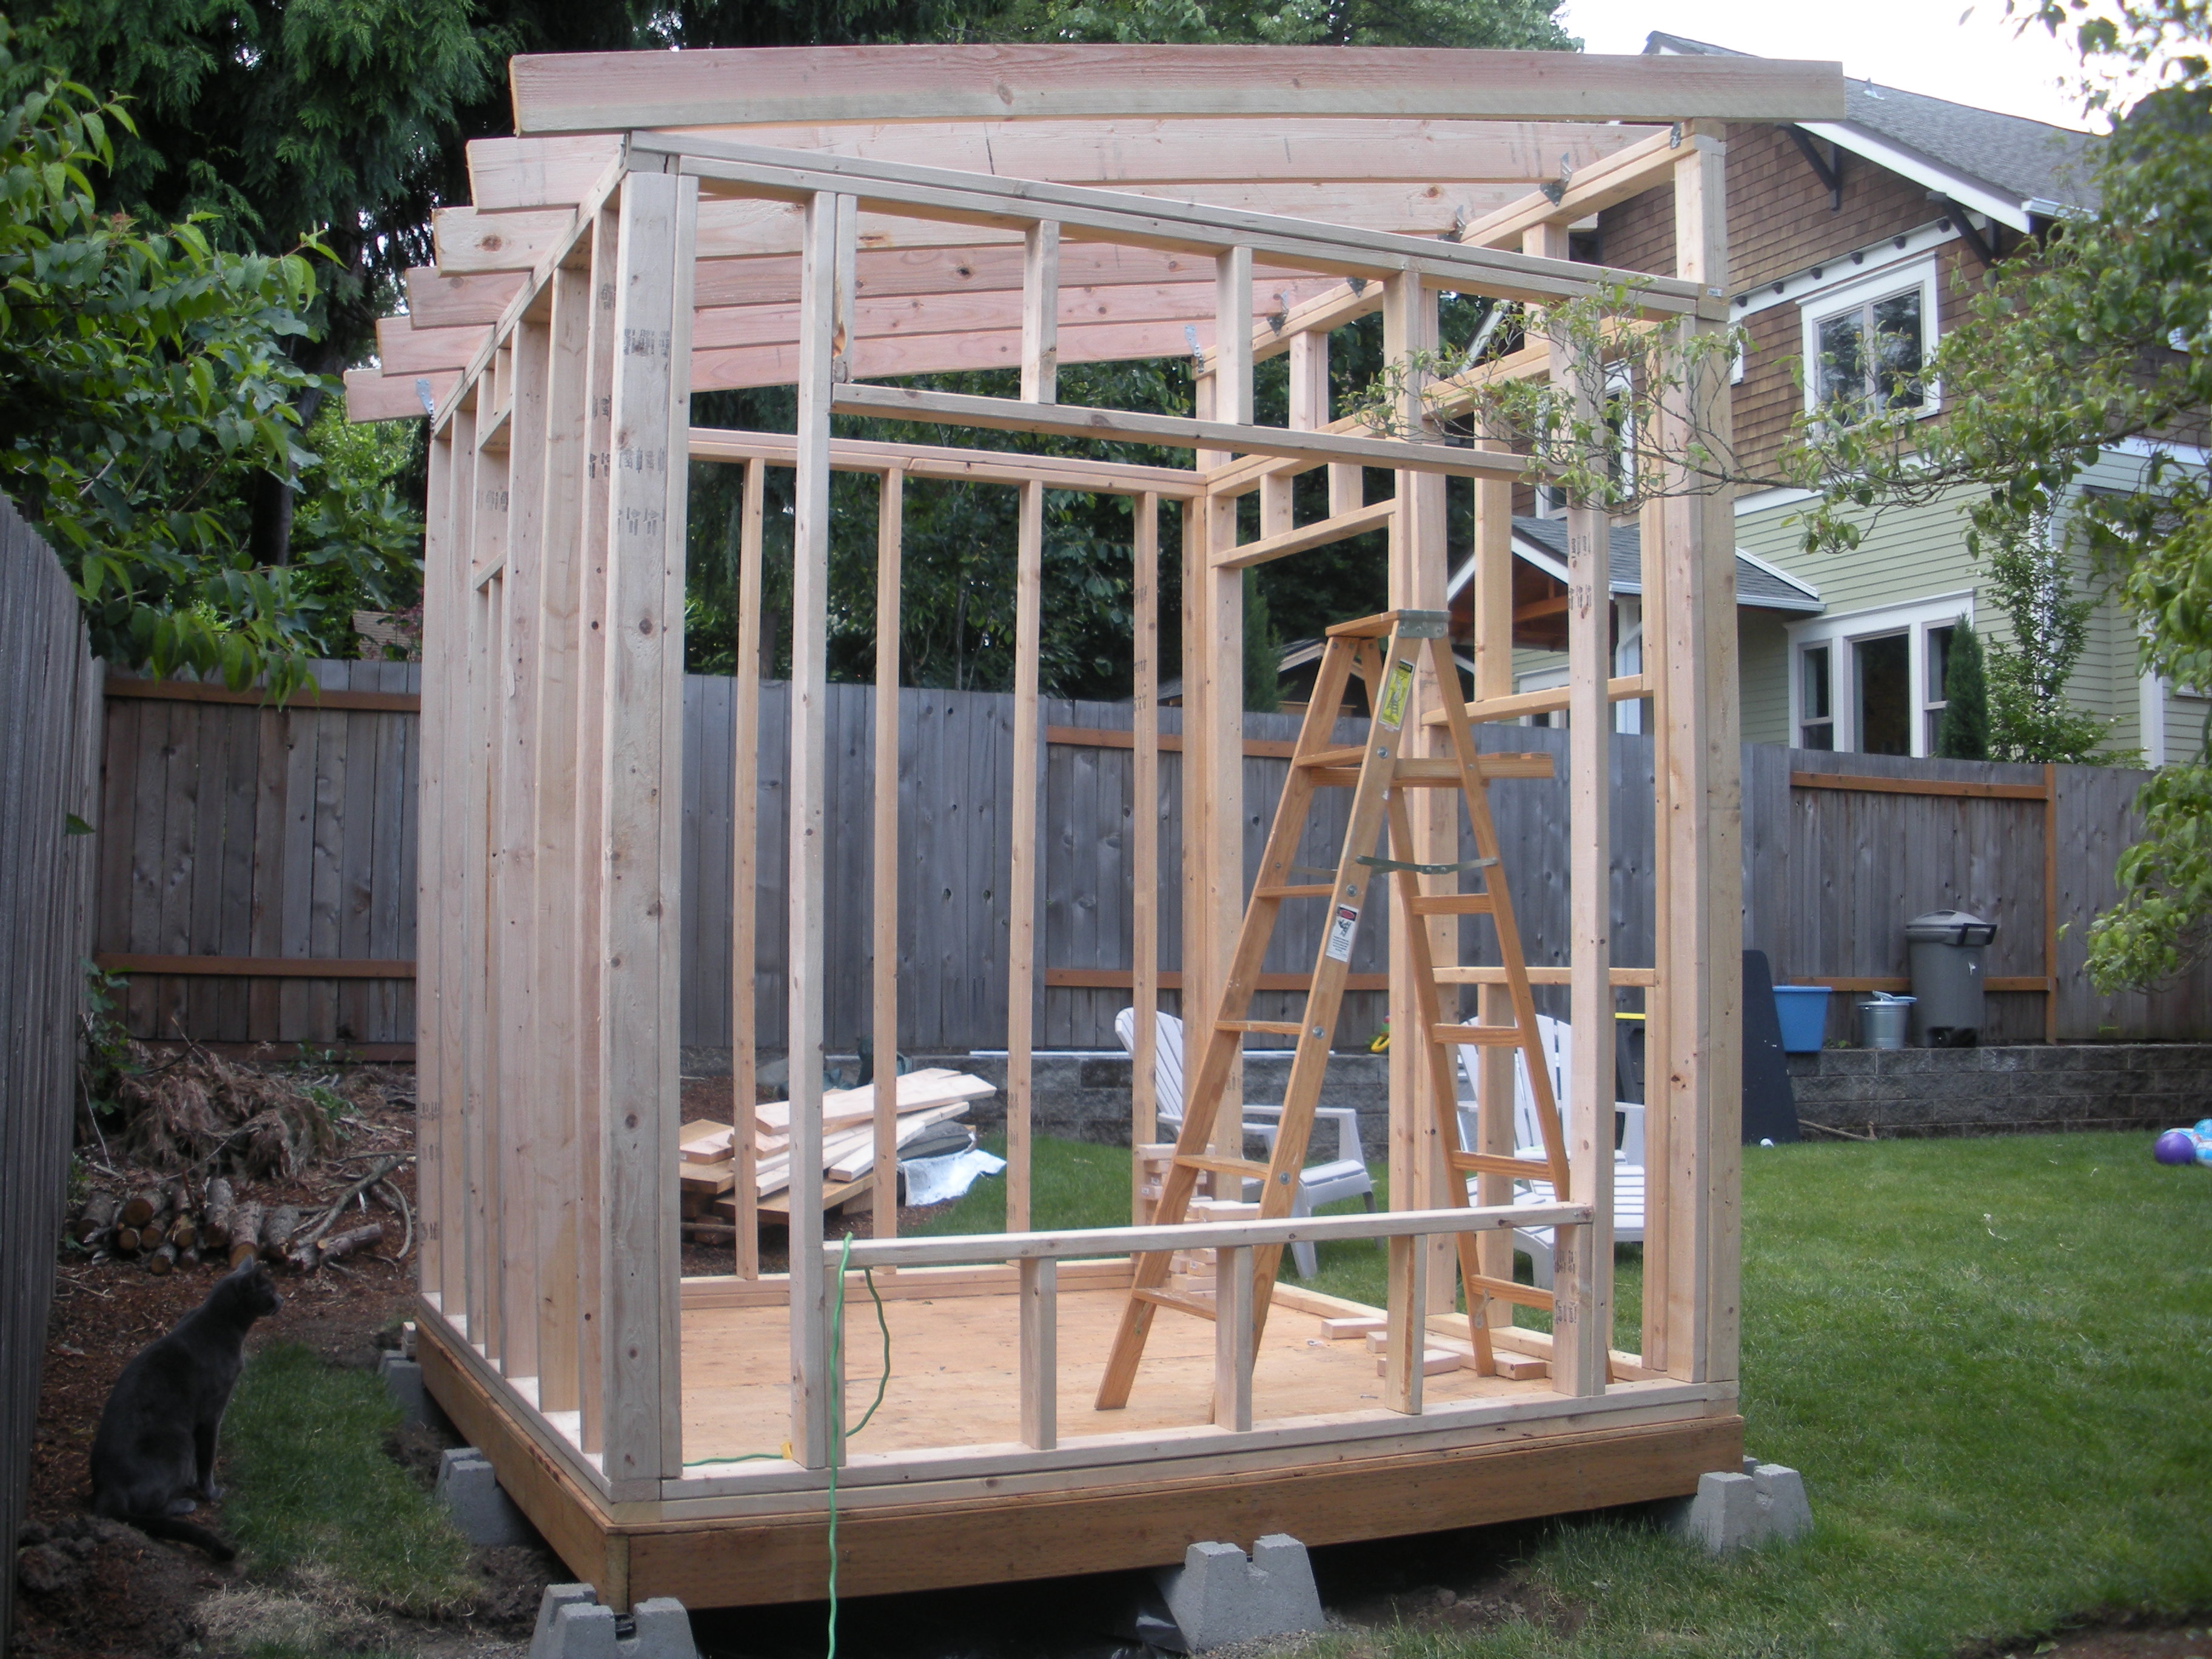
The last two walls went up in a FRACTION of the time that the first two did. Warren and I learned alot about measuring, assembling and tilting up these walls. Having the nail gun made for quick and painless work of all of it. I’m happy to report that all four walls are square – there’s a mere 1/4″ different between the back wall length and the others. Taking our time made a difference here. The result is that it looks straight and perfect – even up close.
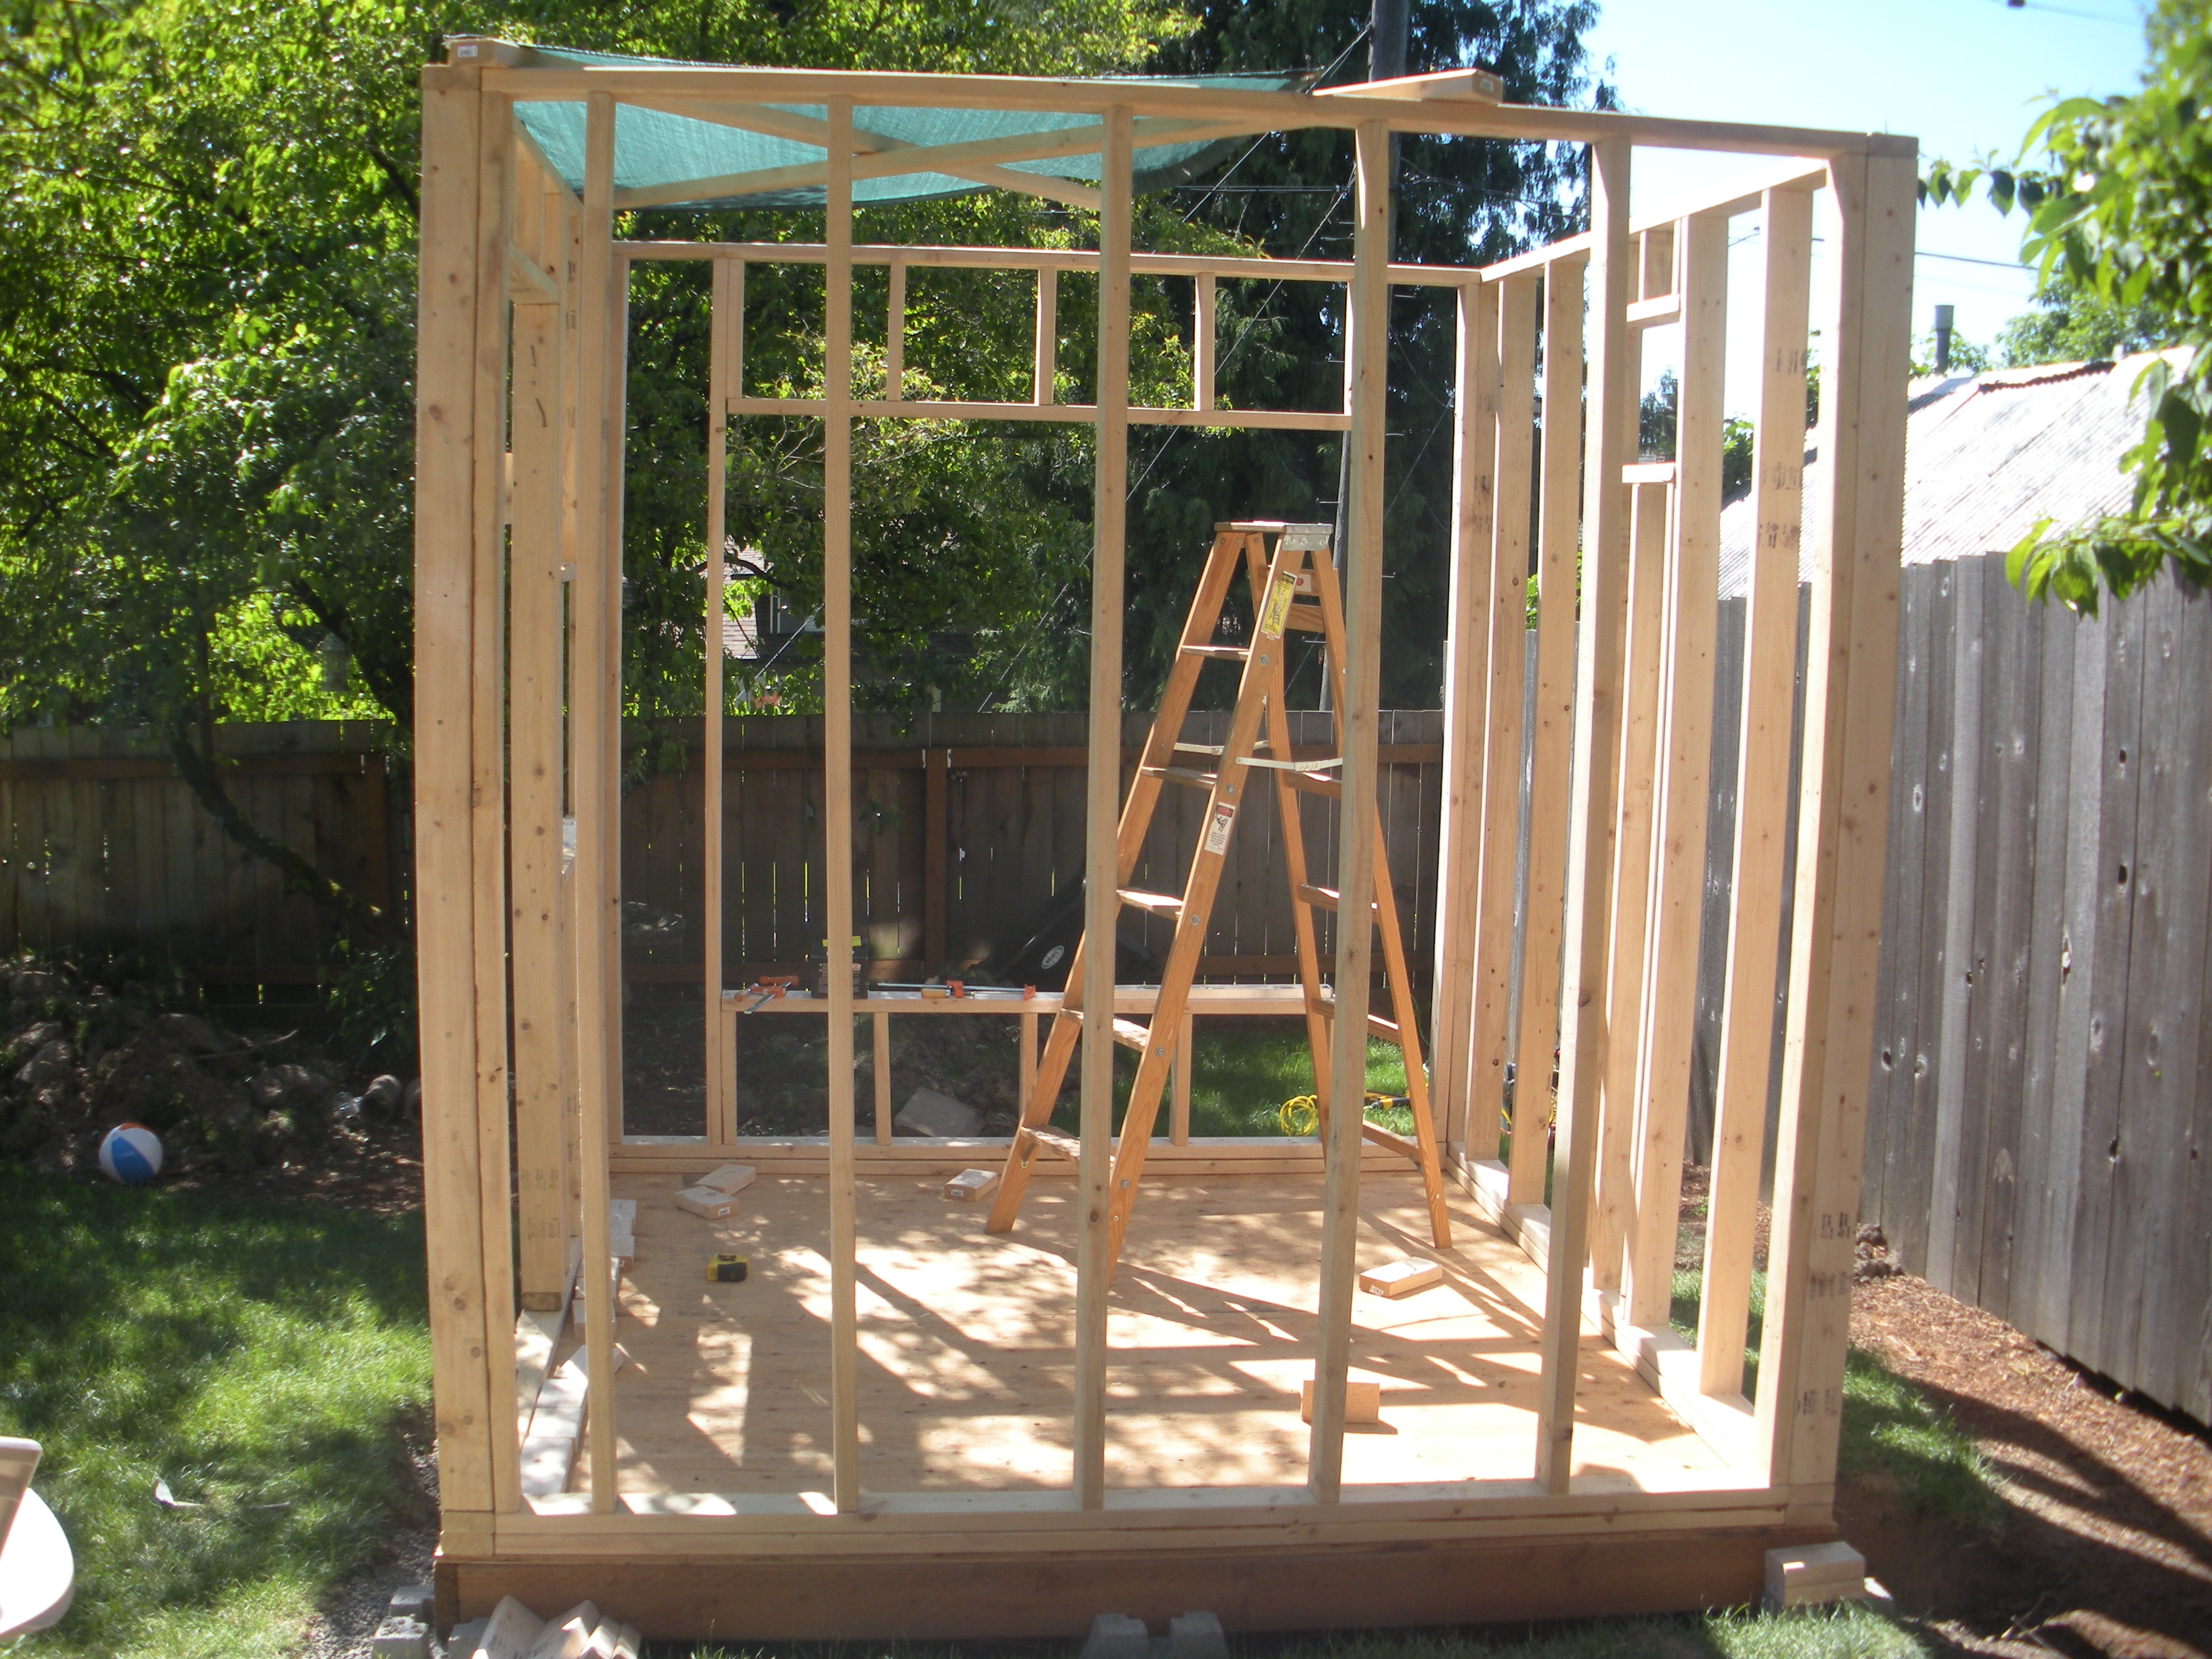
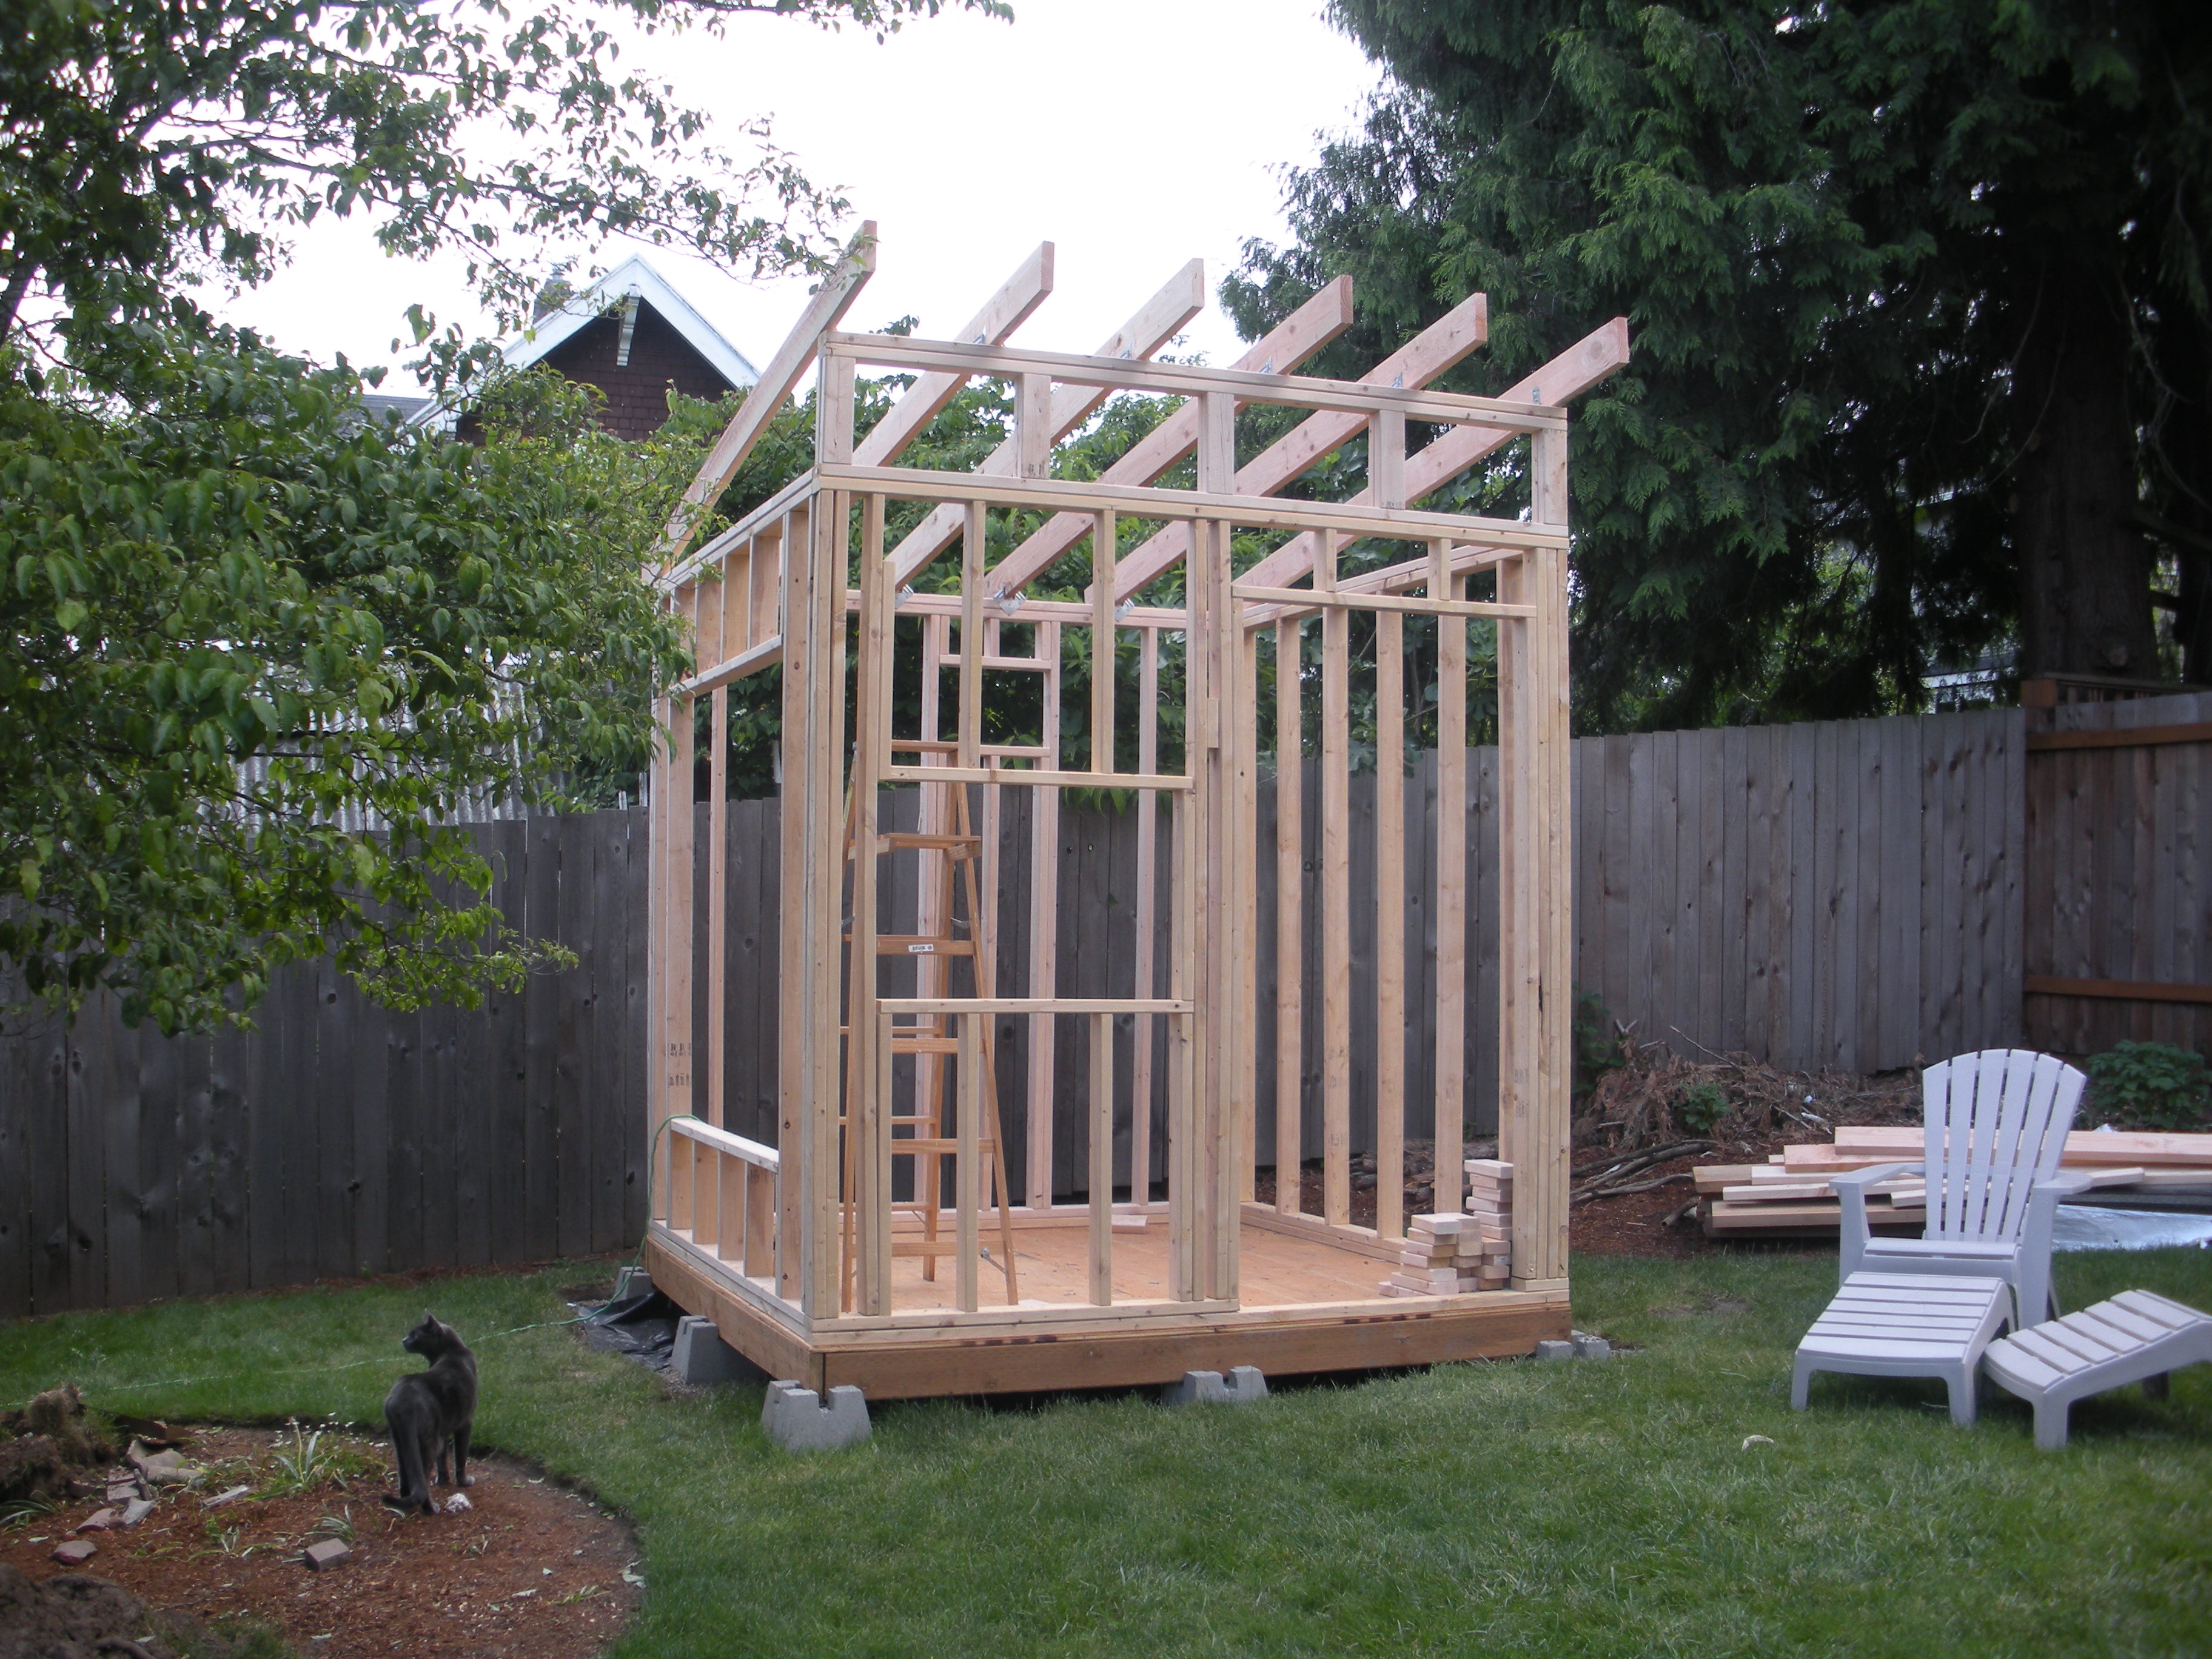
Once I took Warren home for the day (he had finals to study for), I came back and put the roof rafters on. This was really, really easy. In the past you needed to cut “birds mouth” cuts where the joist was to meet the top sill plate. Now, with the help of these clever hurricane ties, this step is no longer necessary. The result is that after installing the ties loose into the front and back top sills, I was able to simply drop the 2x6x10′ members into place and screw them in. I did cut the front face of all of them with an angle cut (10 degrees) so that a fascia board can hang off the front and be perfectly vertical. Why not leave it at an angle? Rain. A drip edge will be installed that will allow rain to drip from the roof surface onto the ground. If I were to install this at an angle, the water would simply run back underneath the drip edge and get under the roofing. Not good.
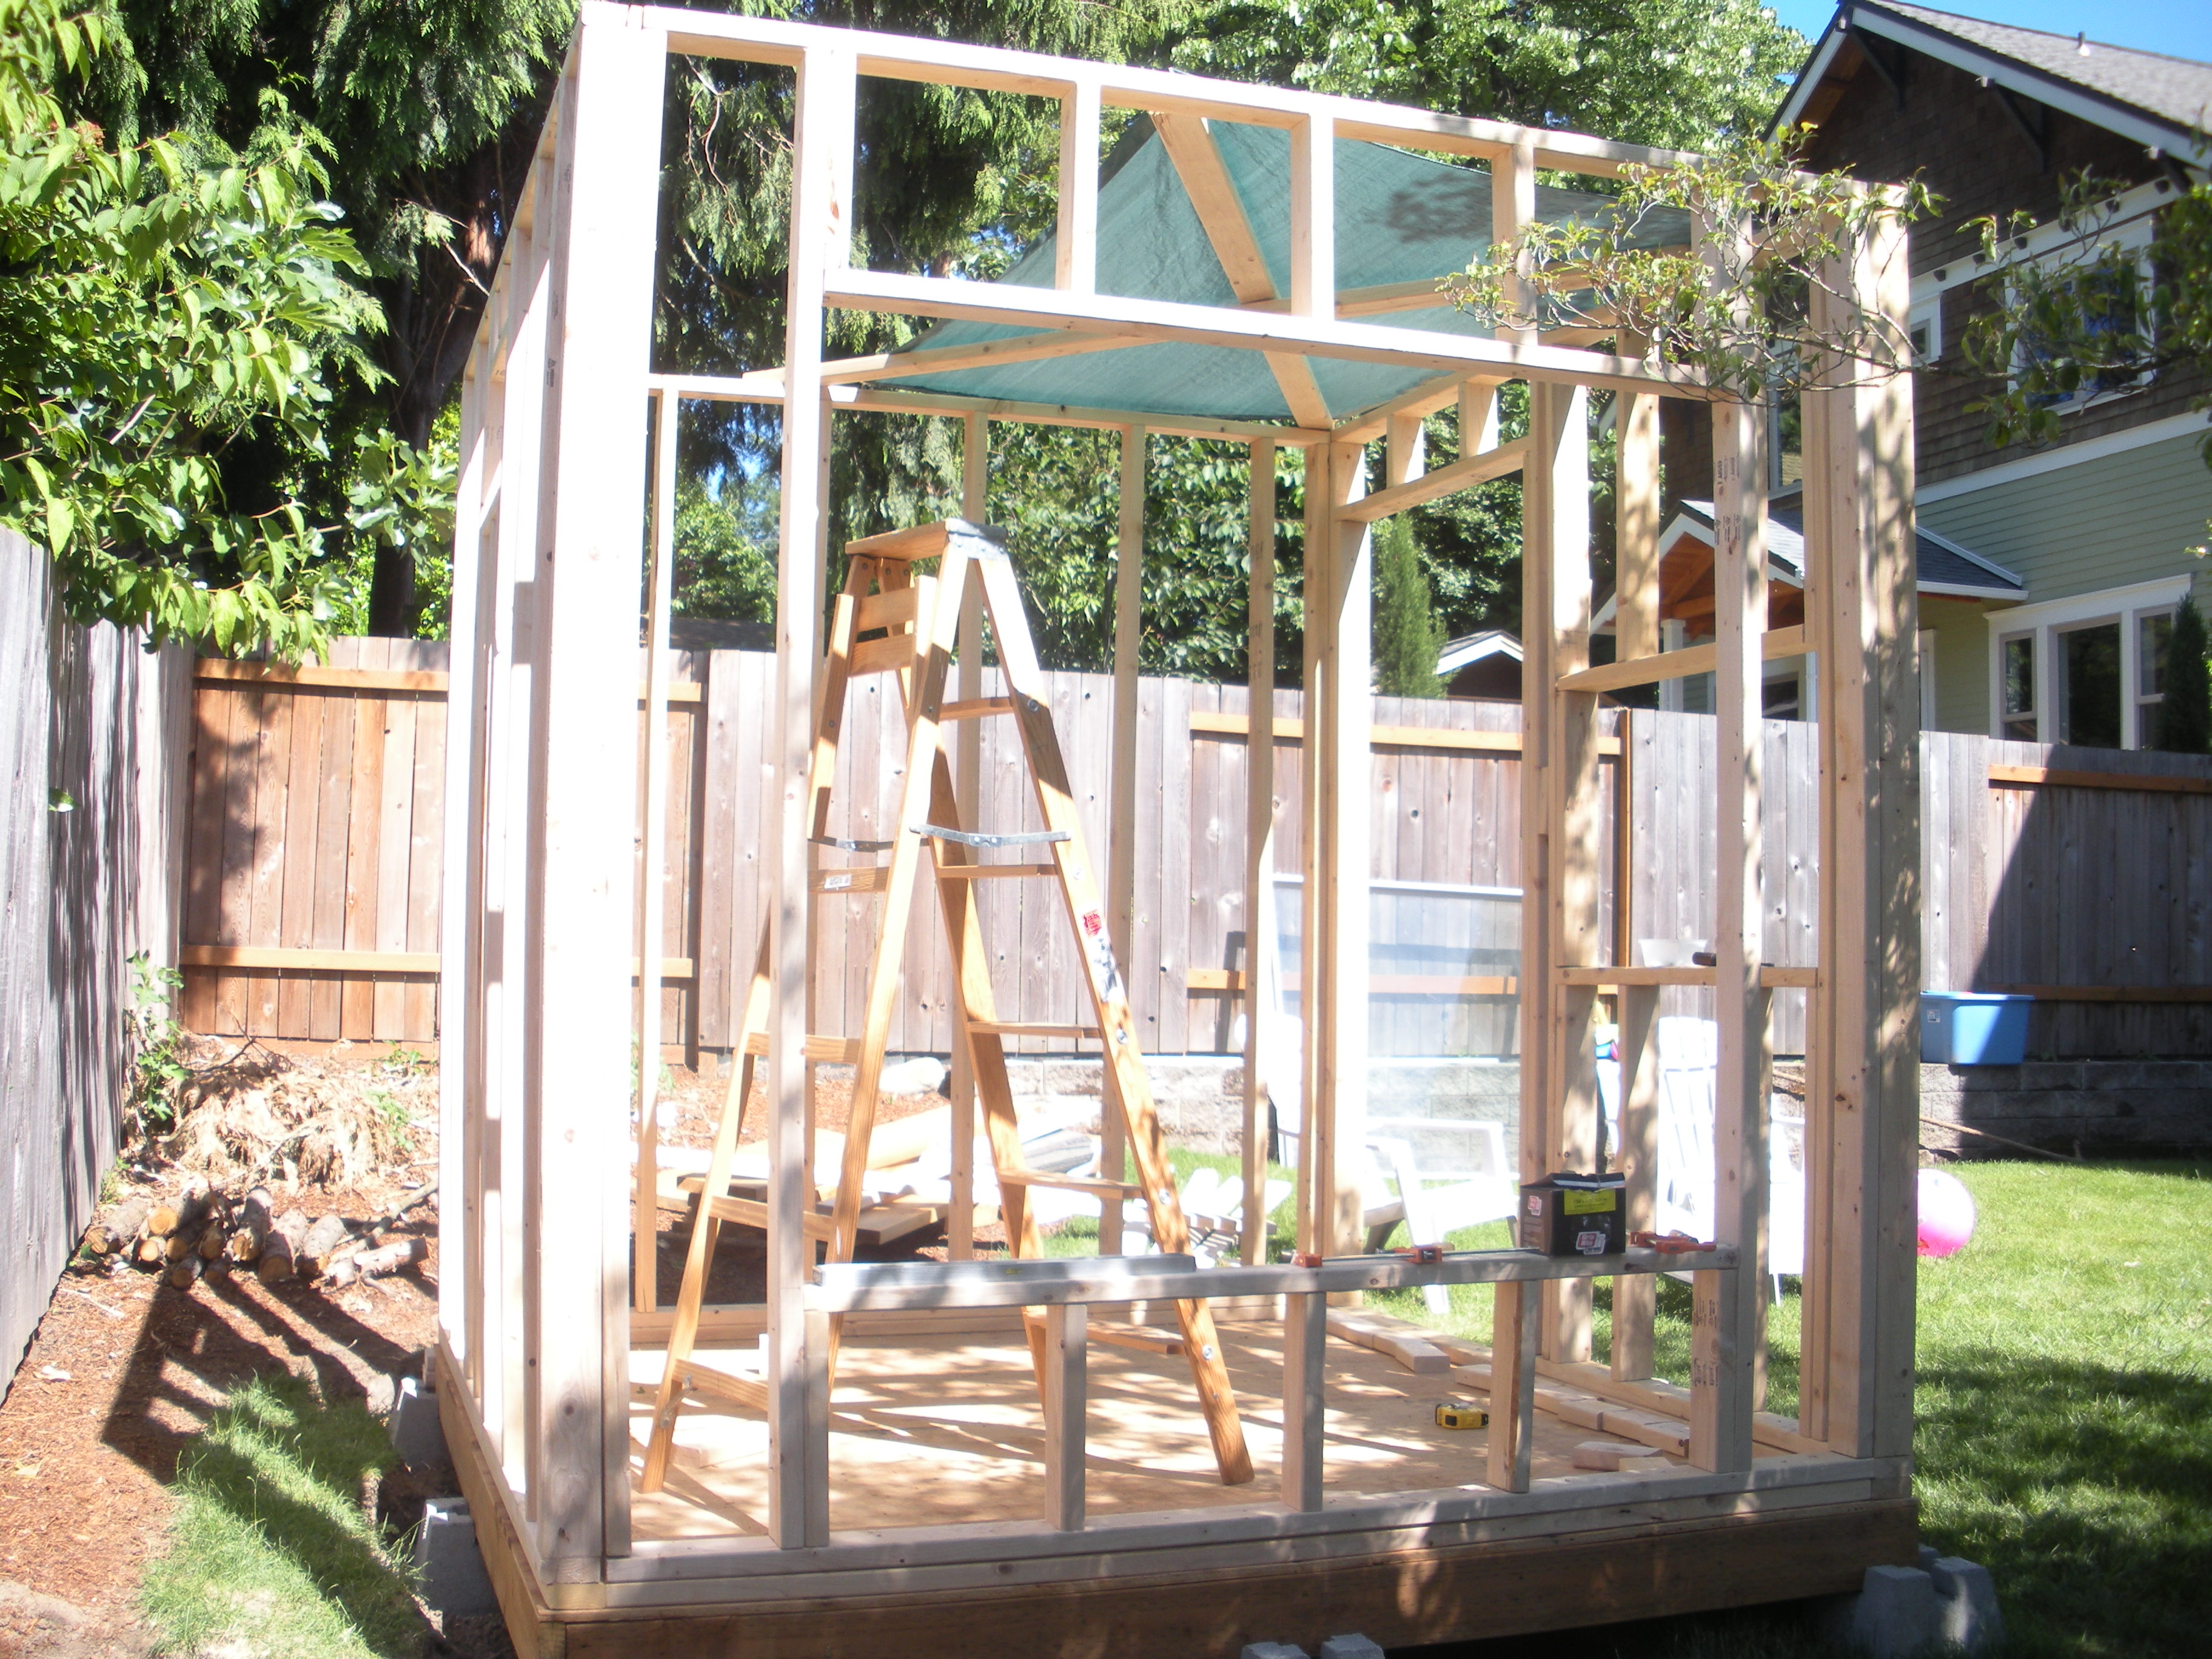
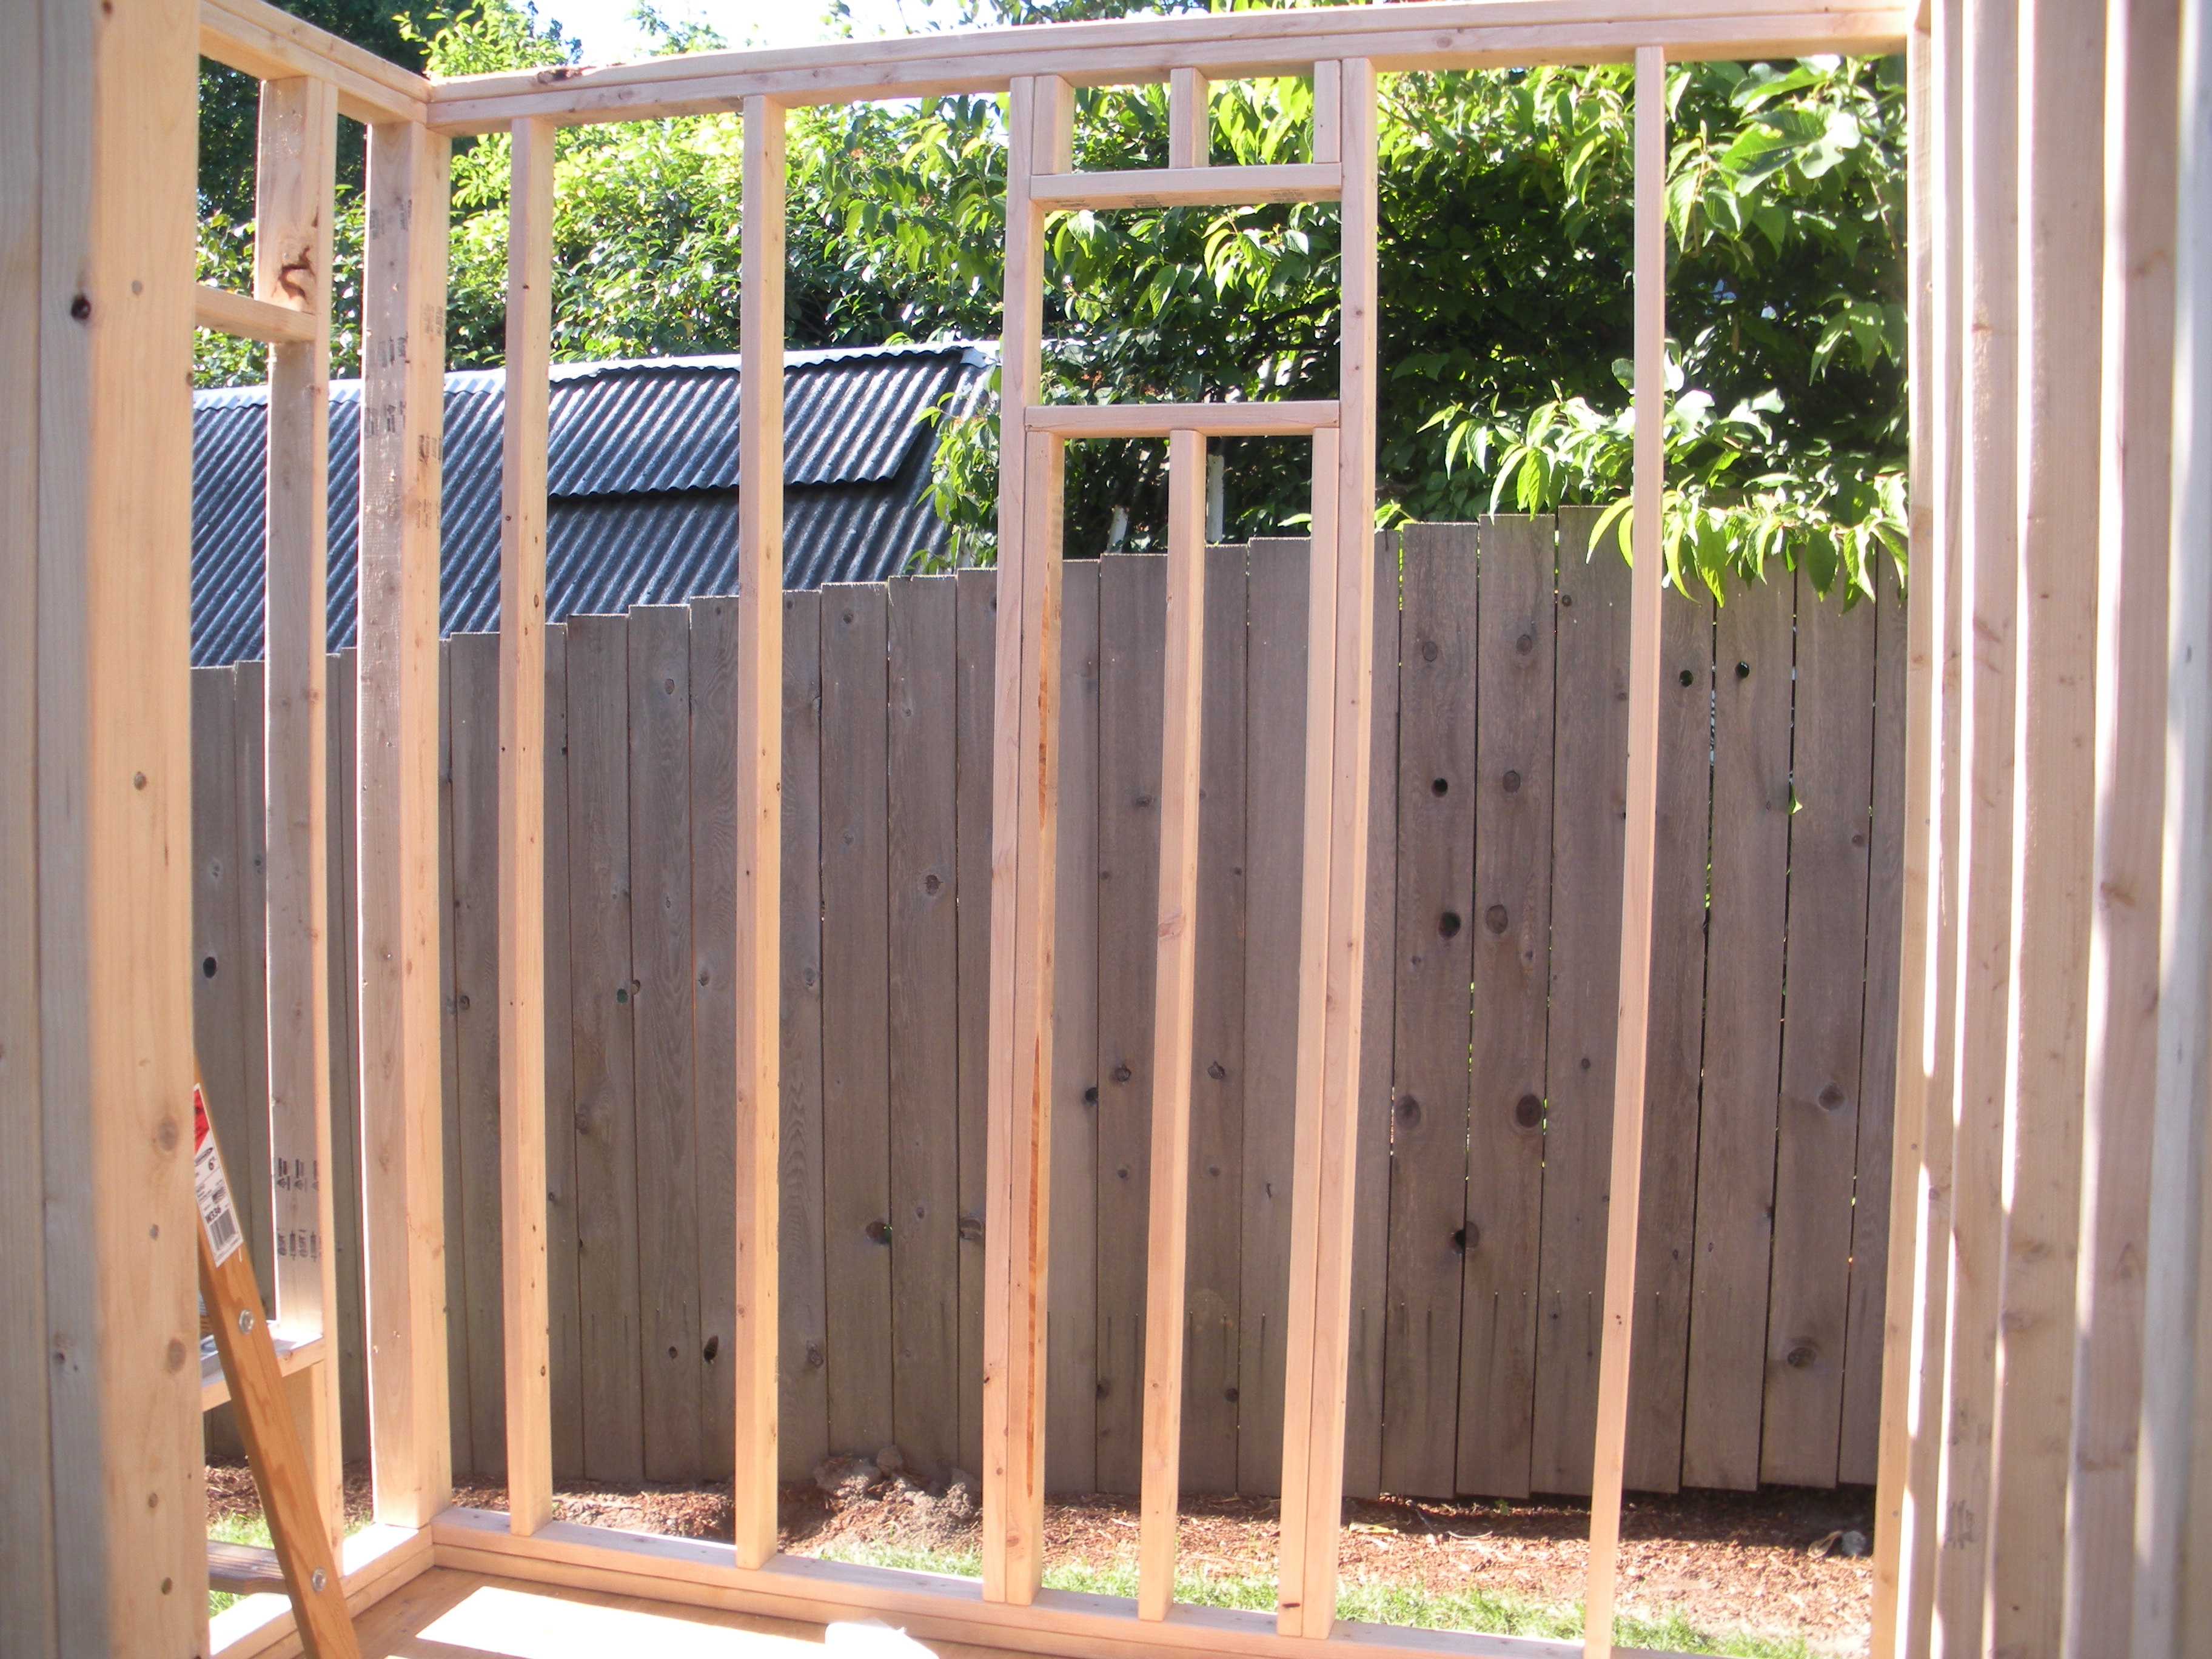
With all the work we did this weekend, there is still some more framing to do – mainly creating nailing edges for sheetrock inside the building. For that, i am going to use leftover 2×4 scrap and nail them where needed on the inside corners. I suspect I will need about 2 more 2x4x8’s to finish out nailing edges in the angled portion of the walls that run up to the vaulted ceiling. Also required will be furring strips to lay the sheetrock over the top of the hurricane ties on the back and front walls.
This coming weekend is sheathing, roofing, house wrap and Window/Door installation. I have one of my best (and oldest) friends, Nate, coming over. He’s a big strong guy, so it should go fast.
Leave a Reply